- Track your orders
- Save your details for express checkout
Advice
-
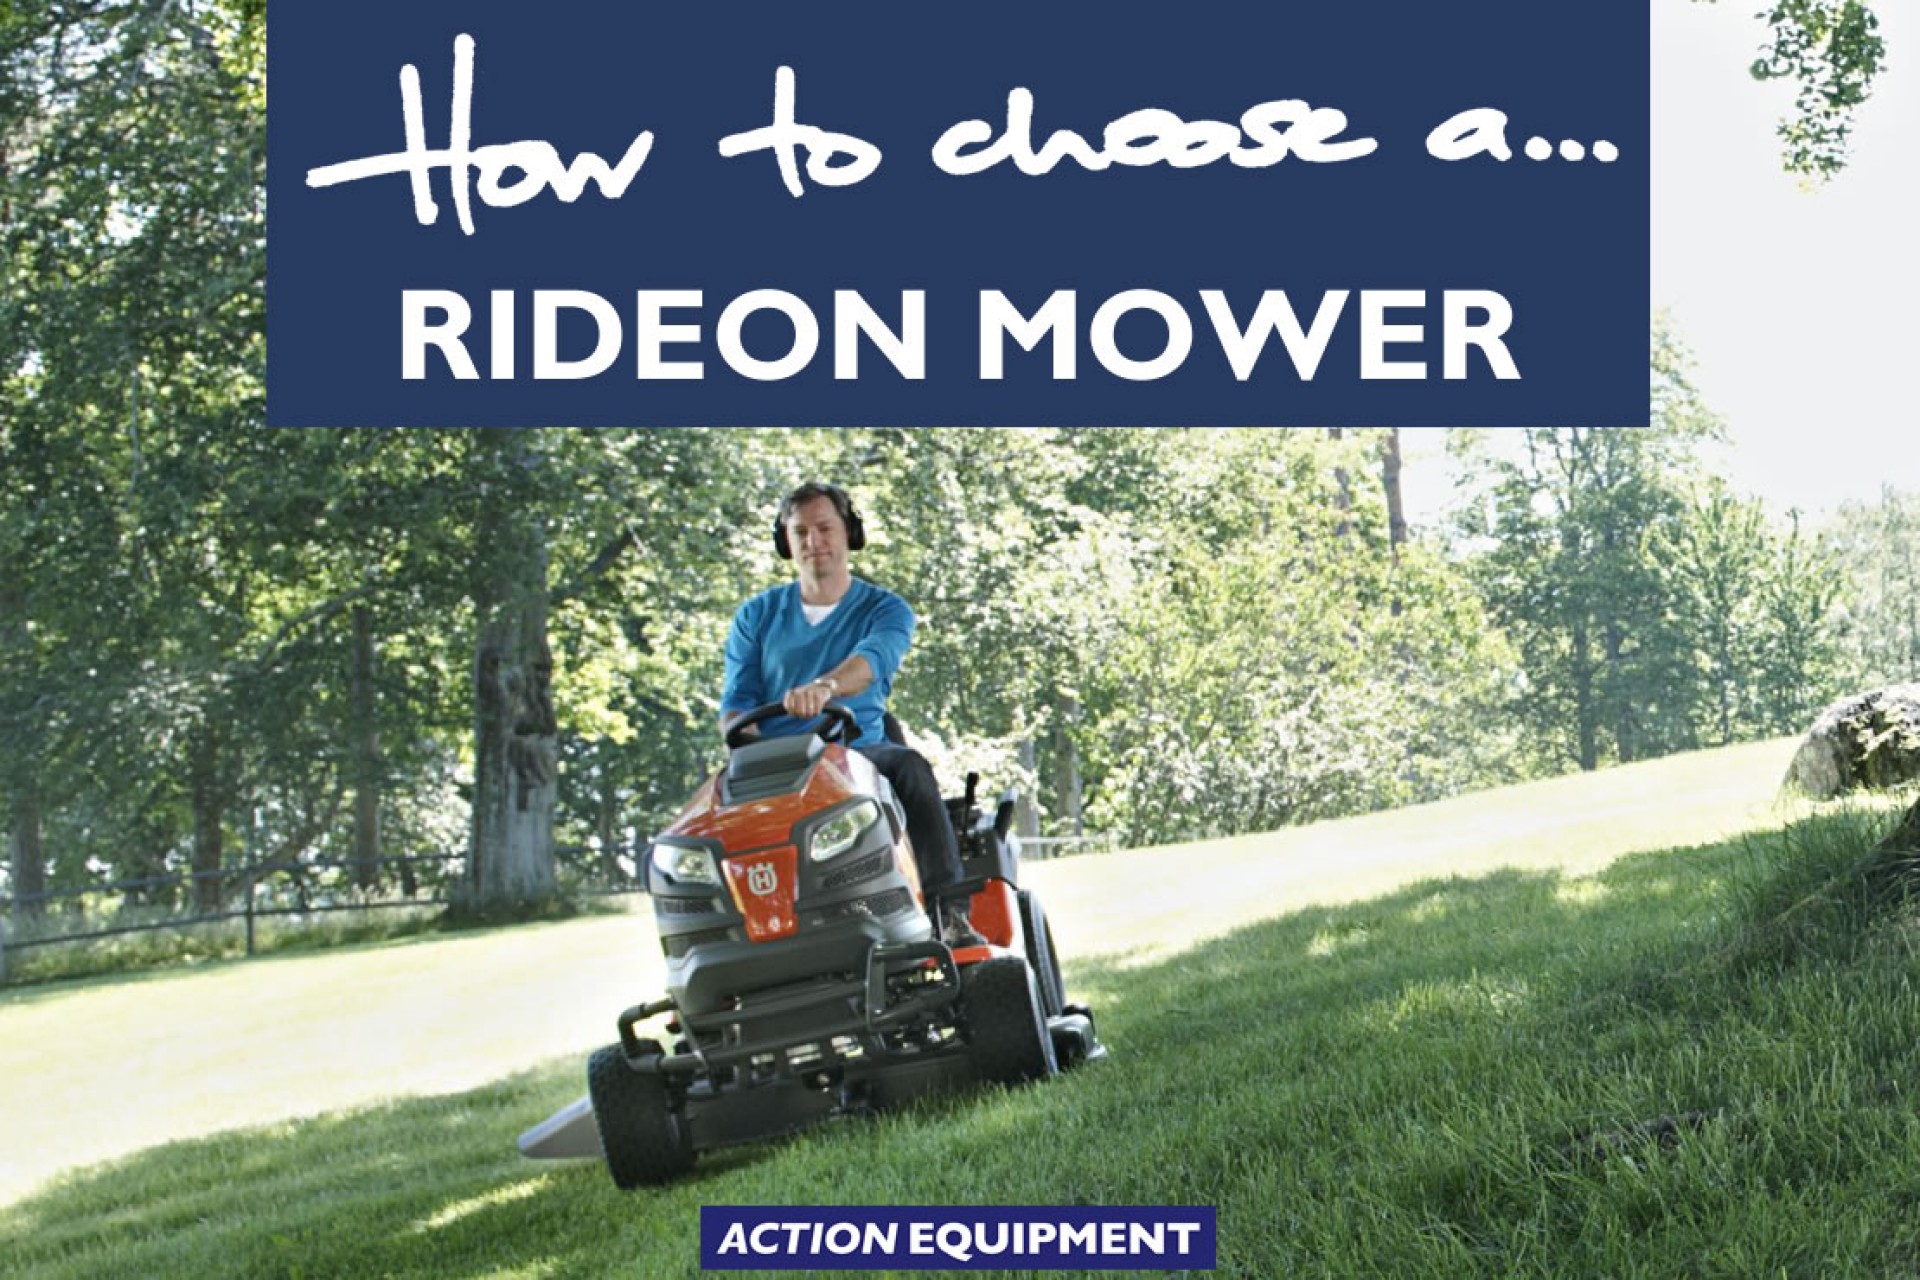
Ride On Mowers How to choose a rideon mower
If you’re new to rideon mowers, the range on offer at Action Equipment might seem overwhelming. But don’t be put off – we’ll happily guide you to the right one for your unique needs, and even give you a no-obligation demonstration on your own property. -
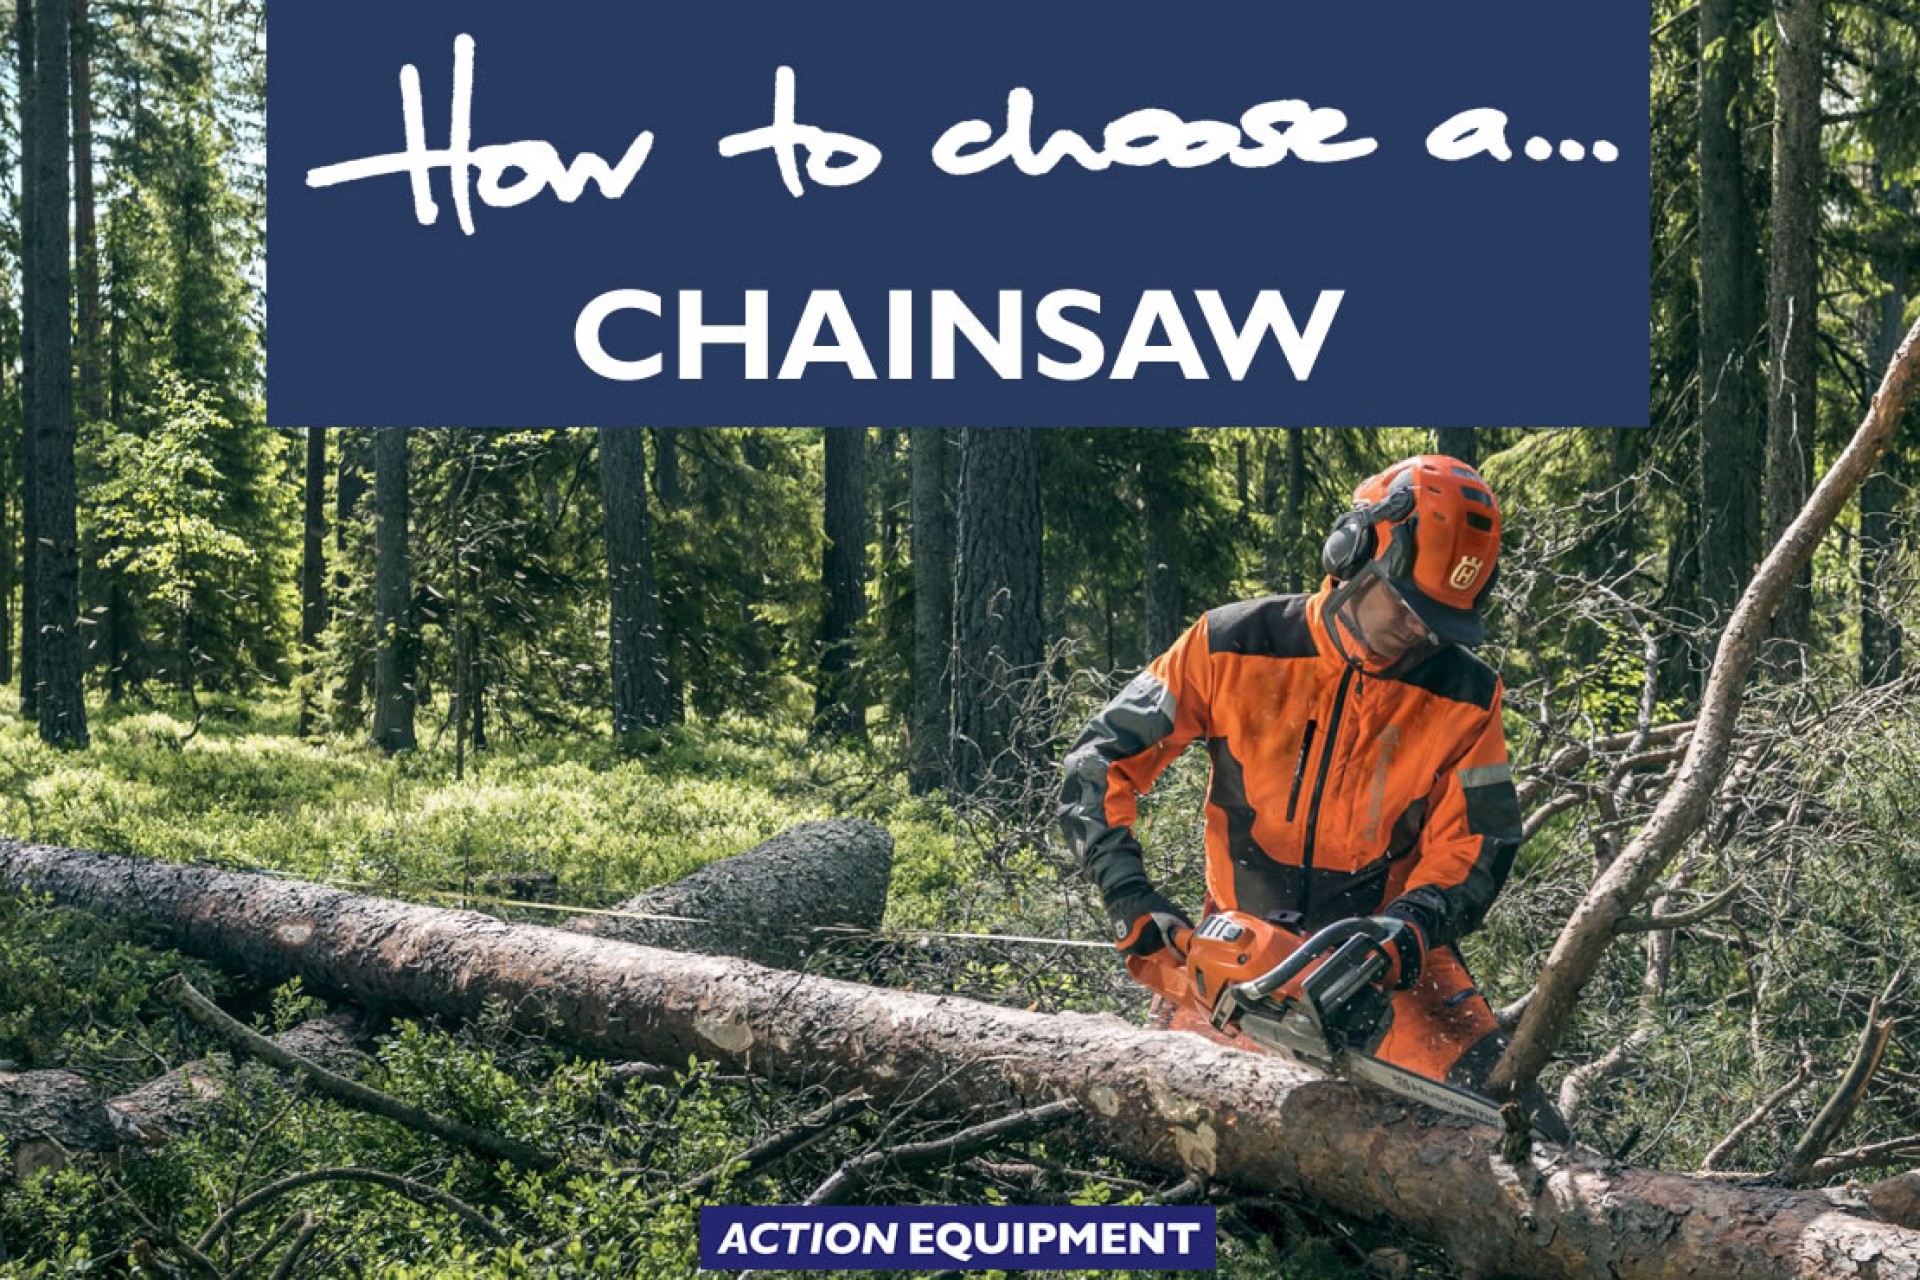
Chainsaws How to choose a chainsaw
Action Equipment offers a wide range of chainsaws, suitable for everything from light firewood to commercial forestry. We'll guide you to the right one for your needs. -
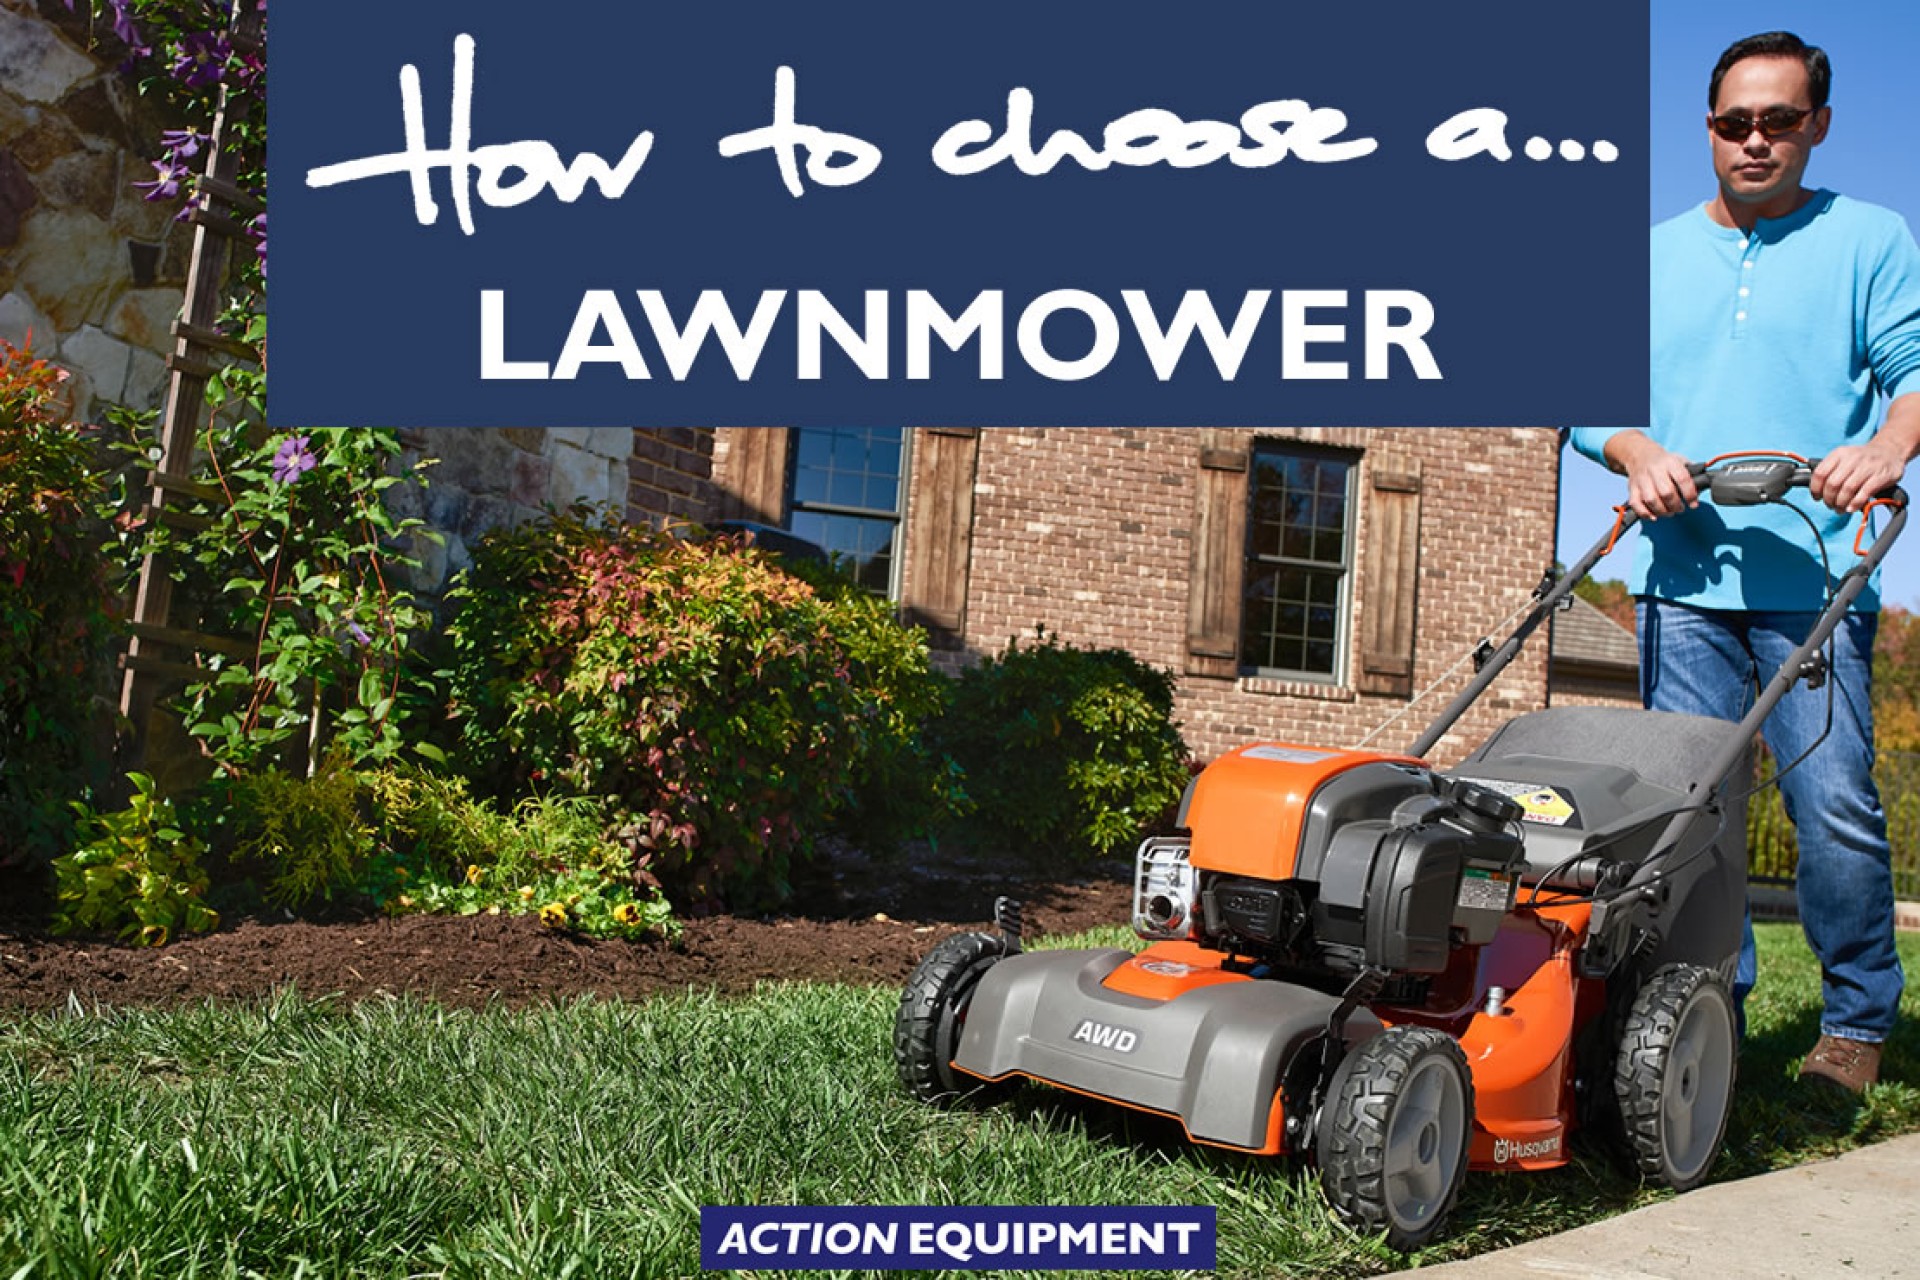
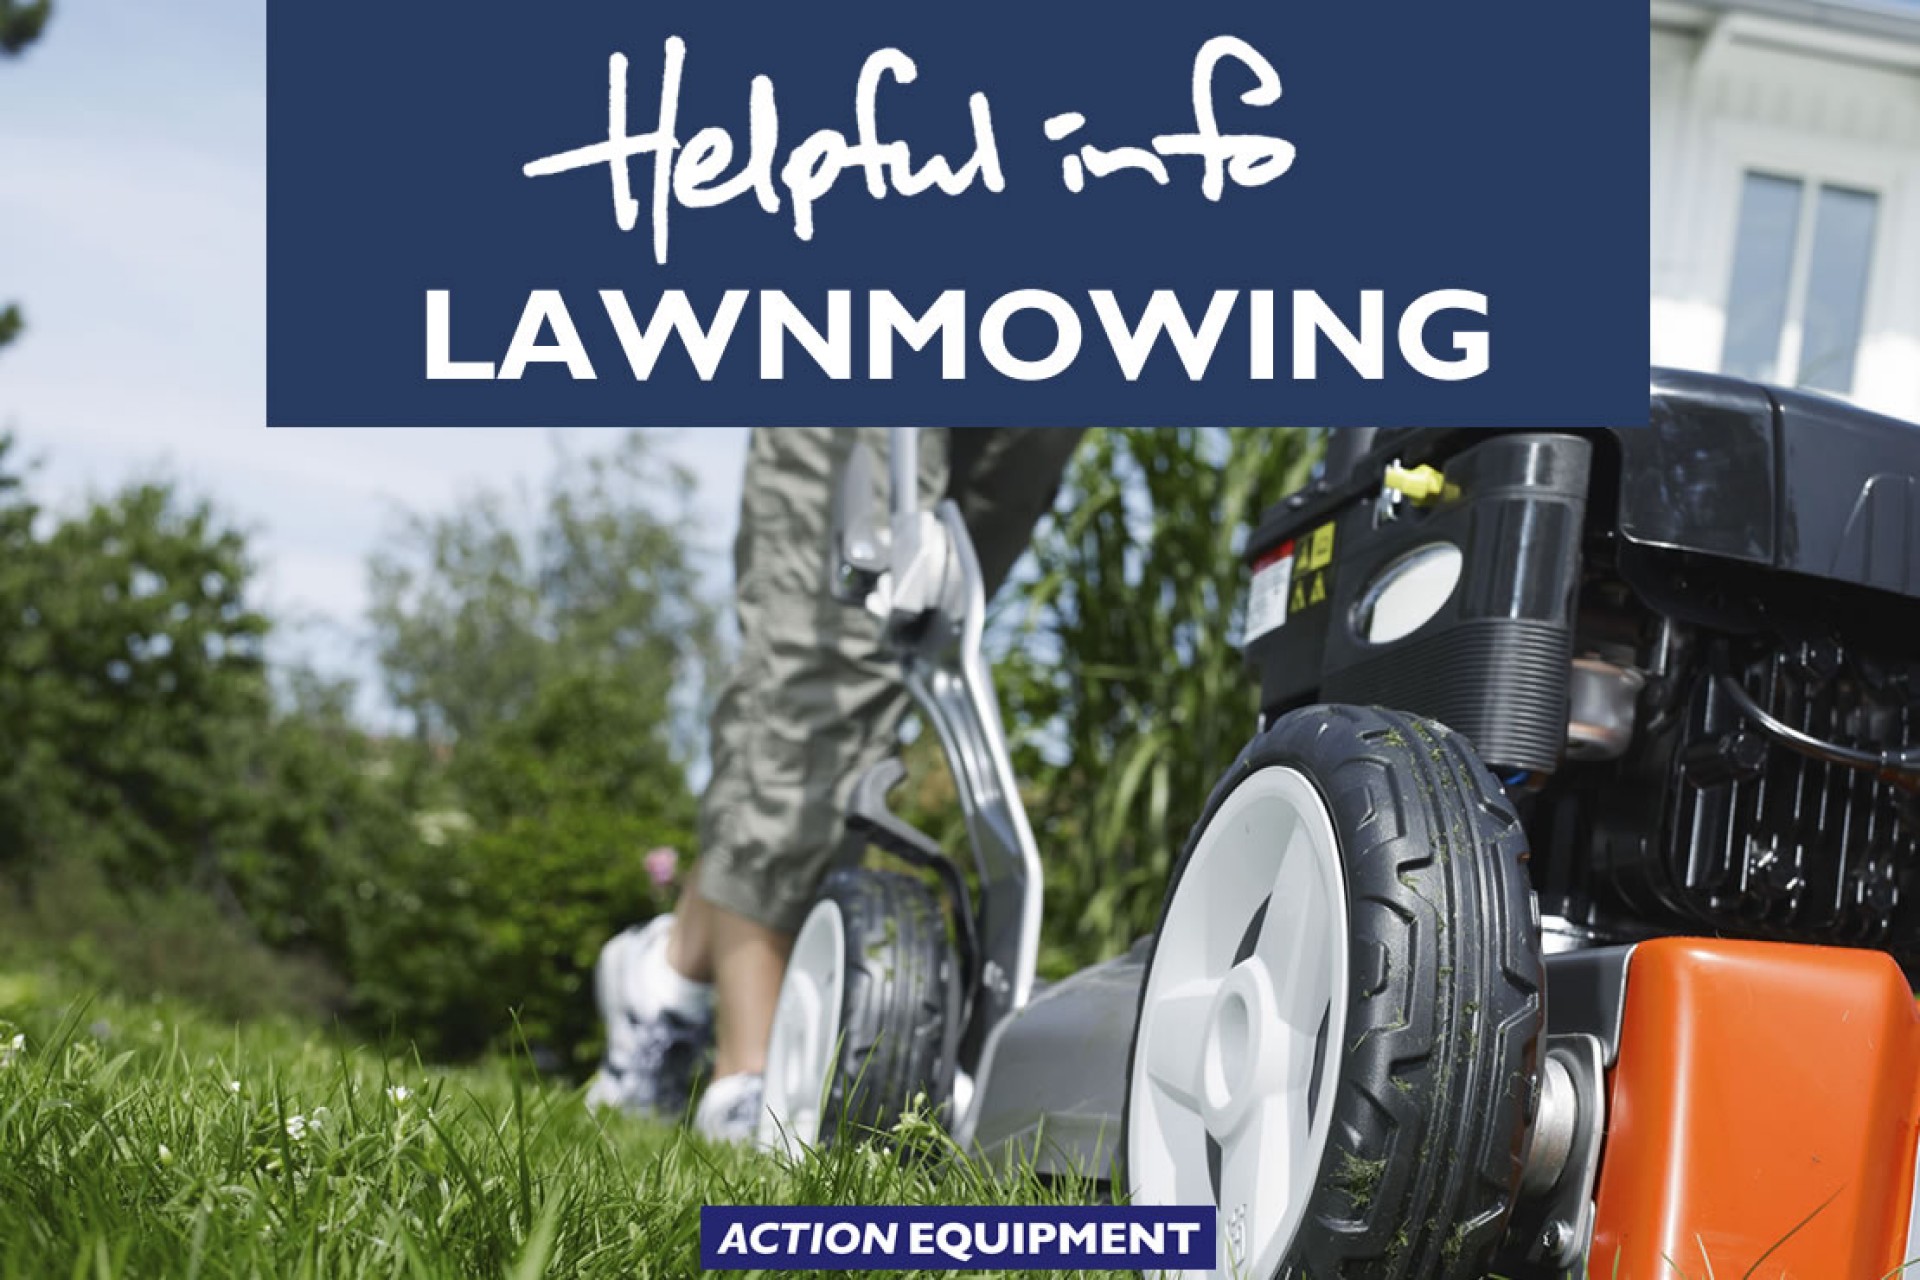
Lawnmowers How to choose a lawnmower
You’re spoilt for choice at Action Equipment when it comes time to choose a new lawnmower. -
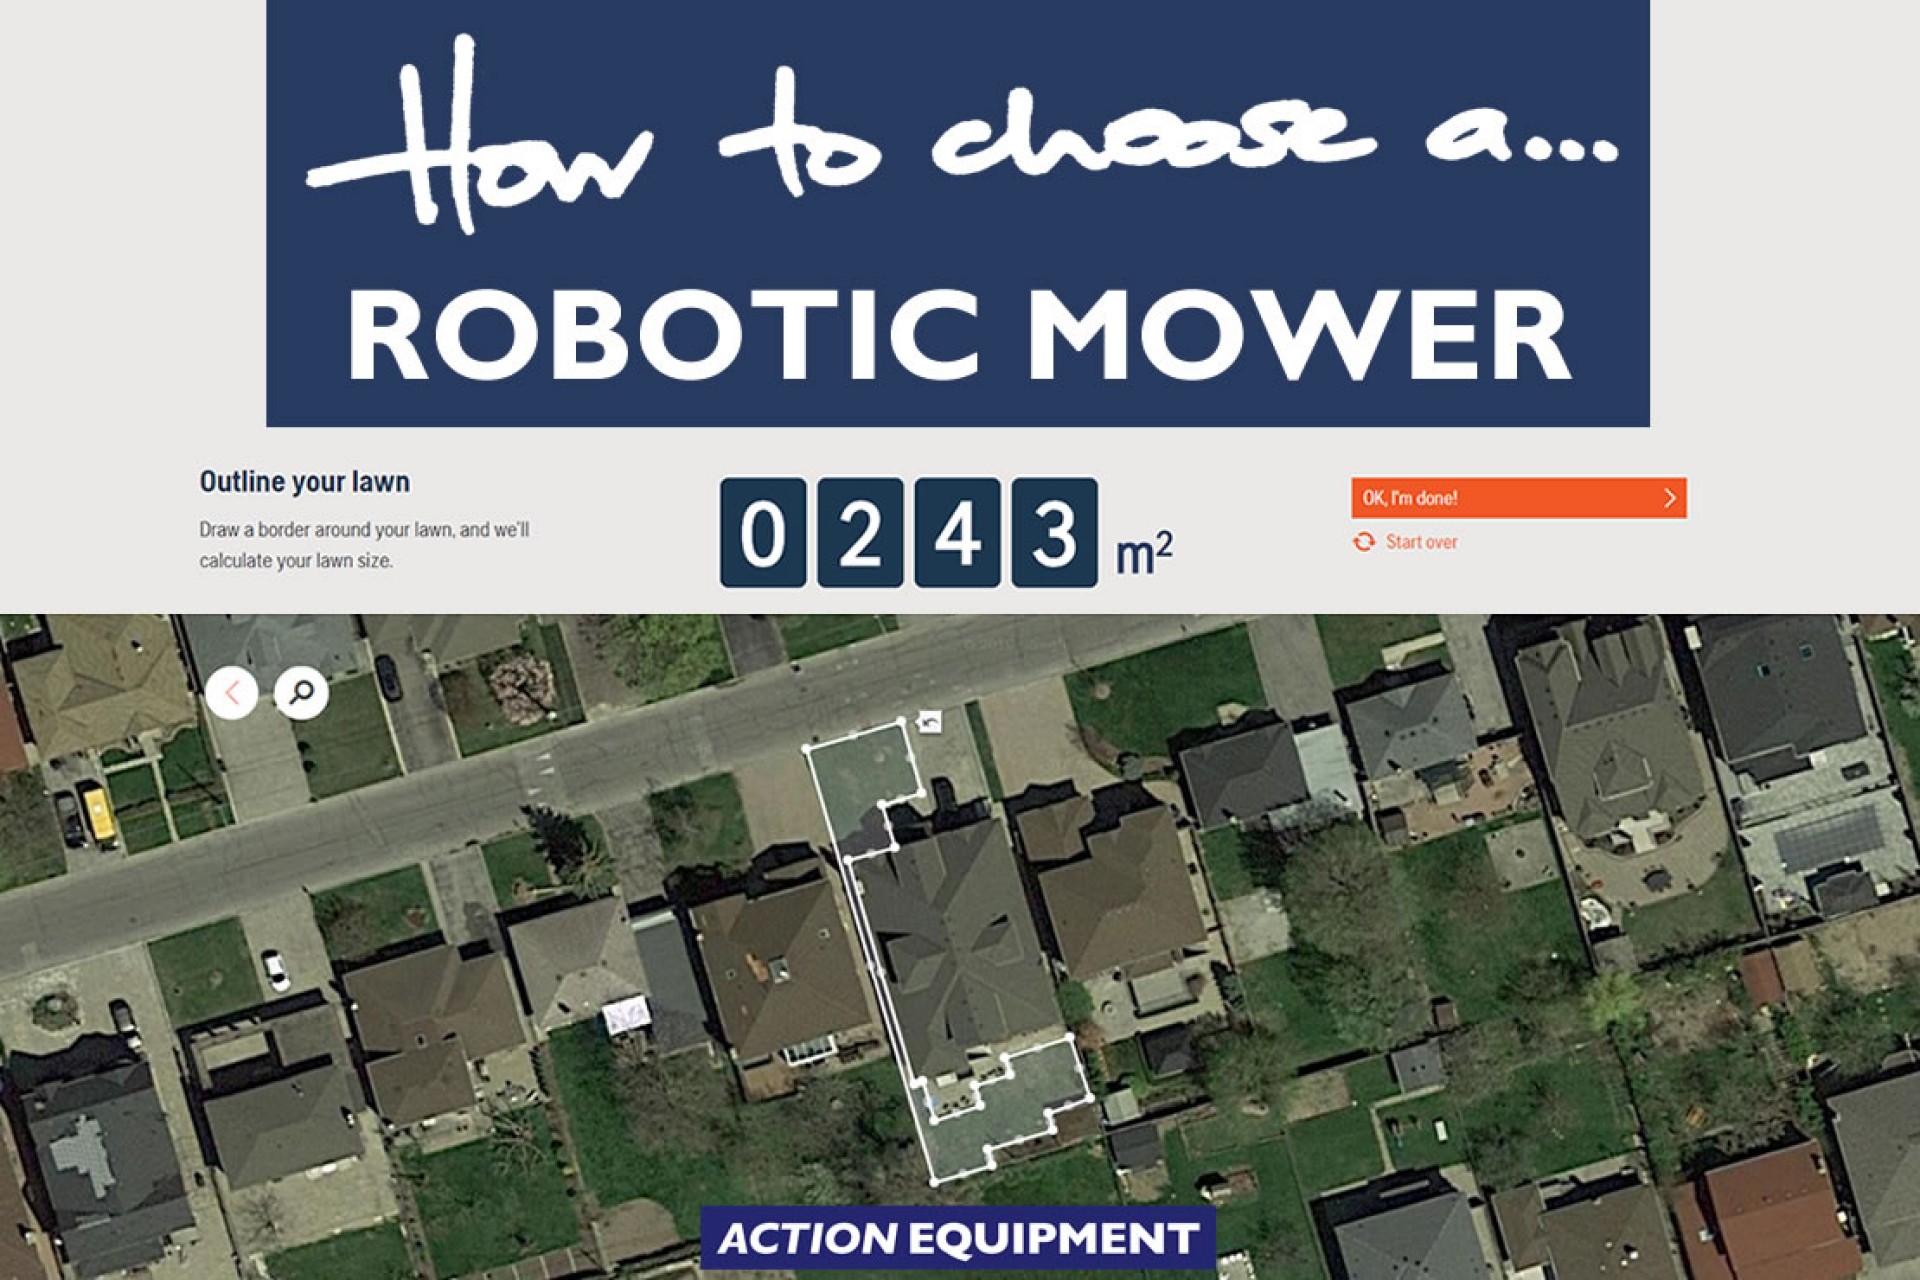
Robotic Mowers How to choose a robotic mower
Husqvarna has a tool to help you select the ideal Automower for your property. -
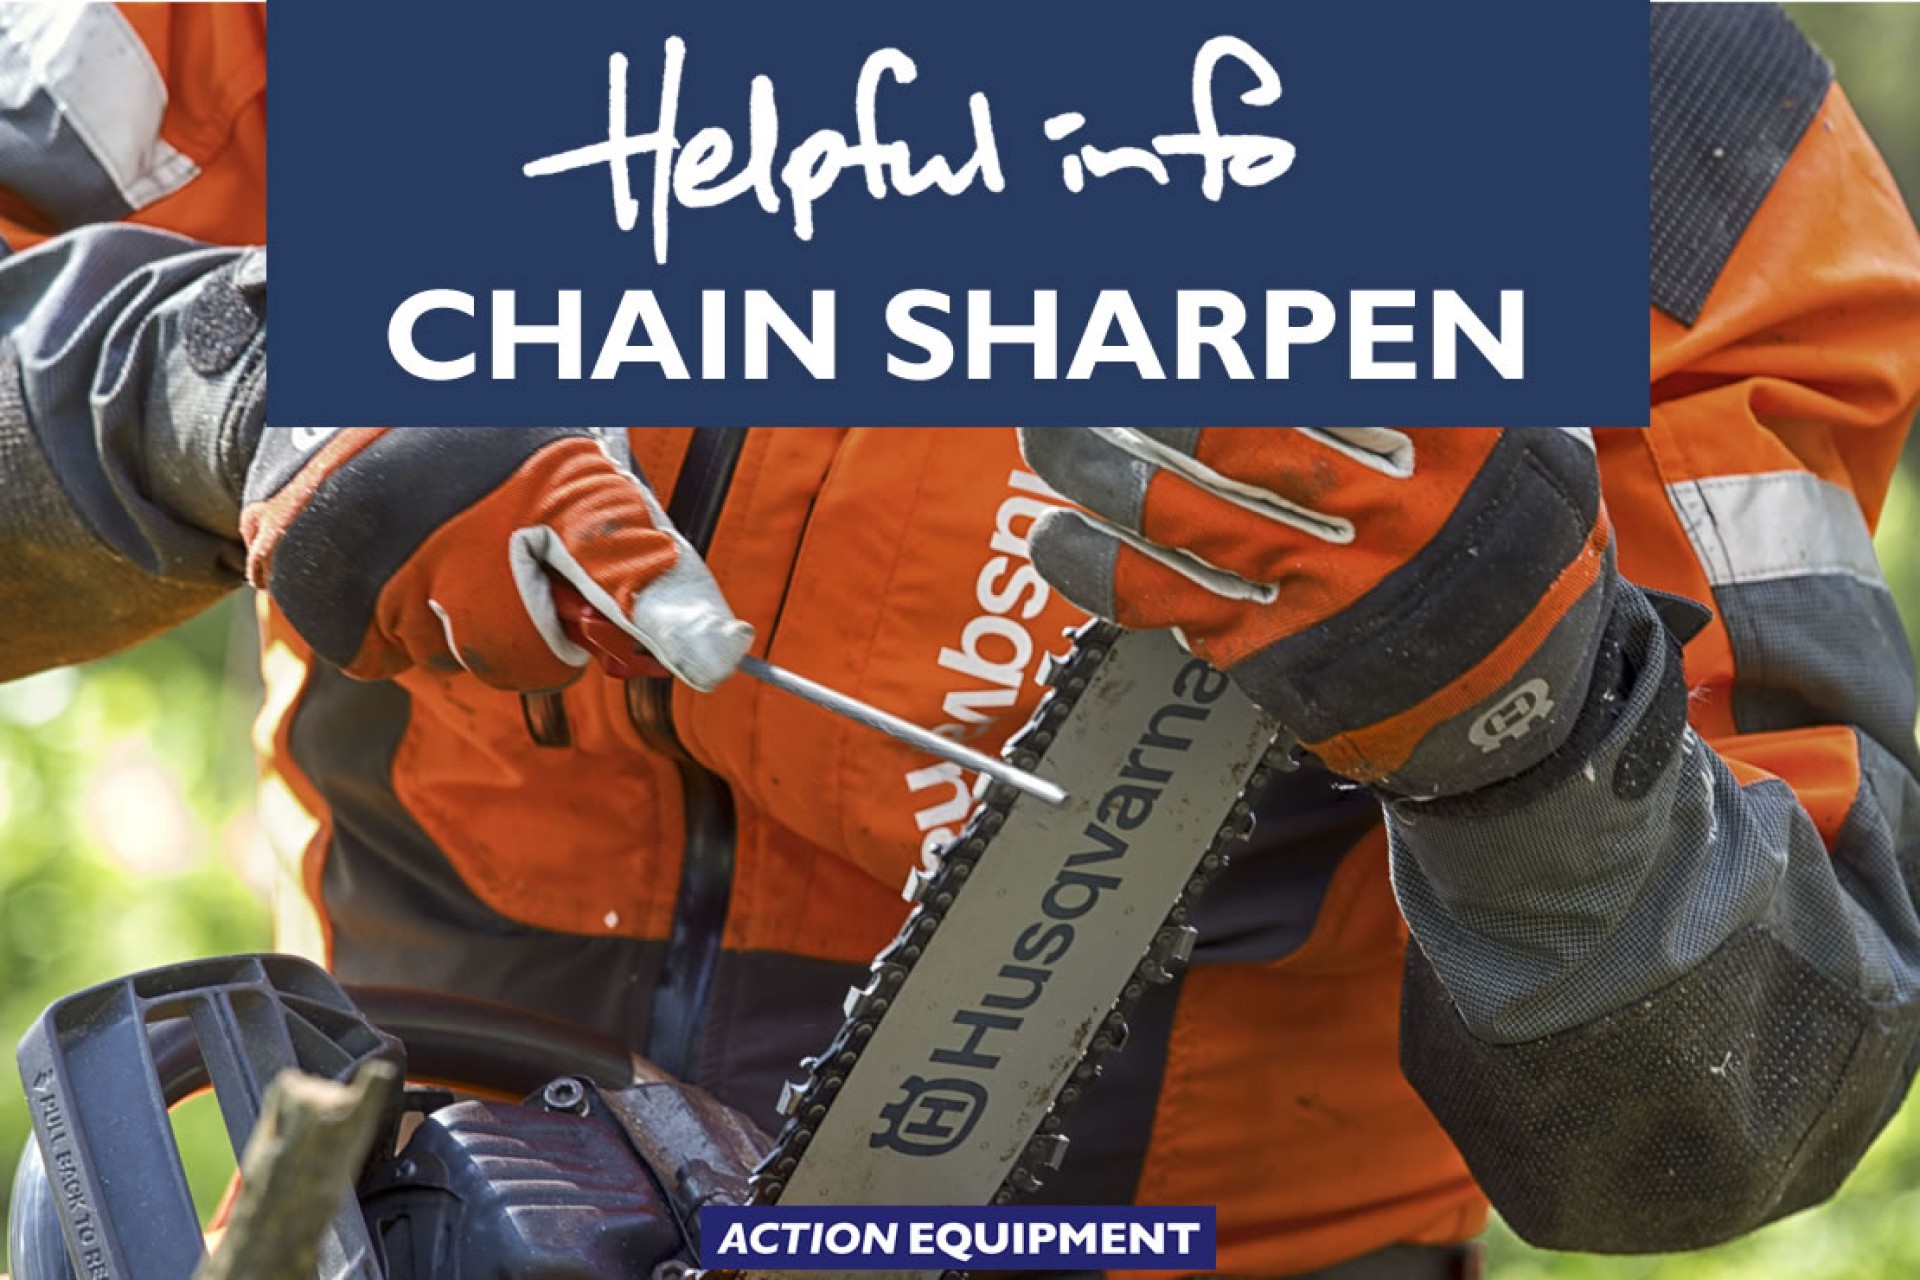
Chainsaws How to sharpen a chainsaw chain
It's easy to sharpen your own chainsaw chain if you have a few minutes and the simple tools required. -
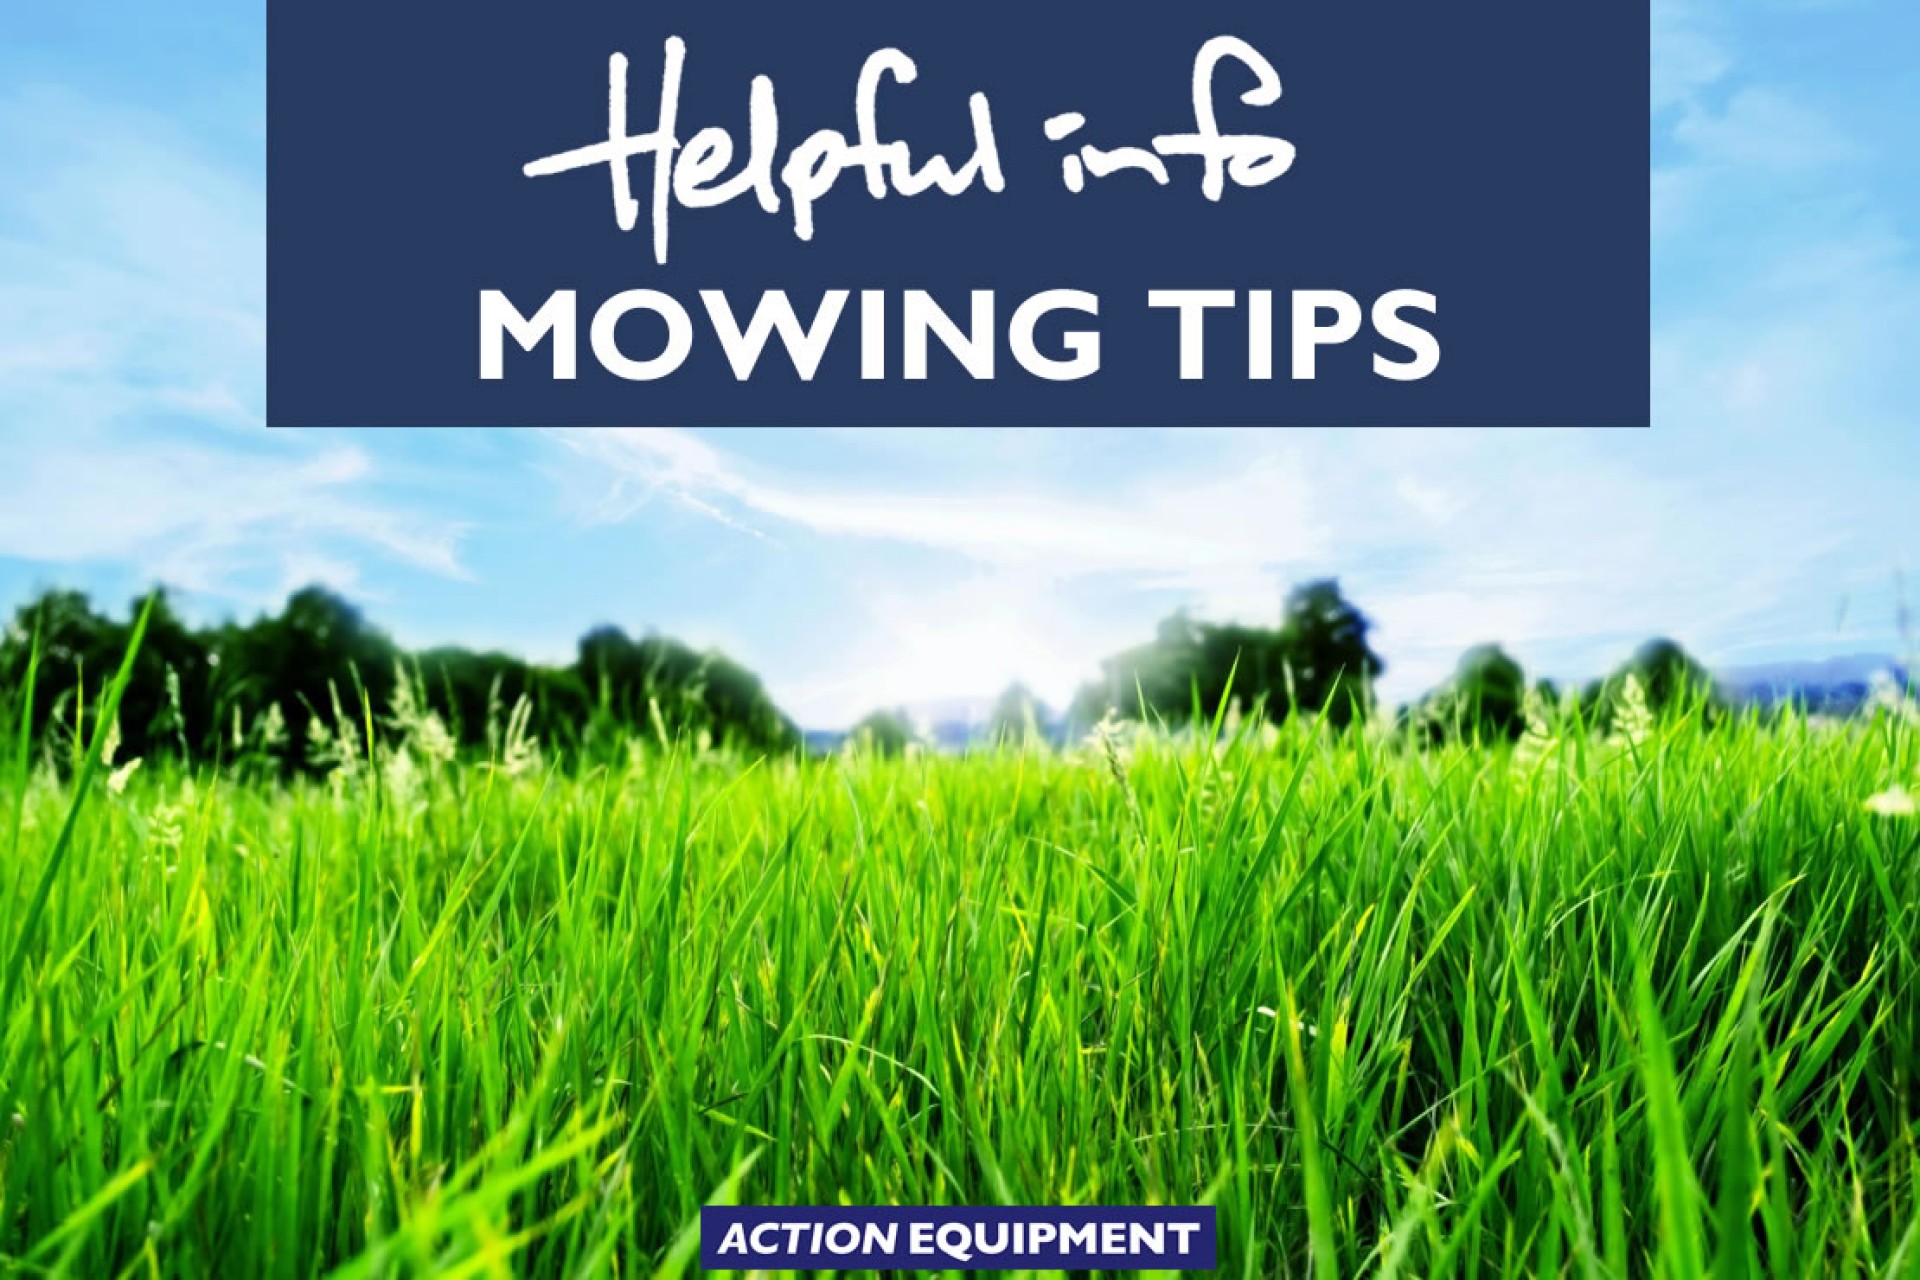
Lawnmowers Mowing tips for a professional finish
A professional finish to your lawn can make all the difference, and will have your neighbours wondering what your secret is. -
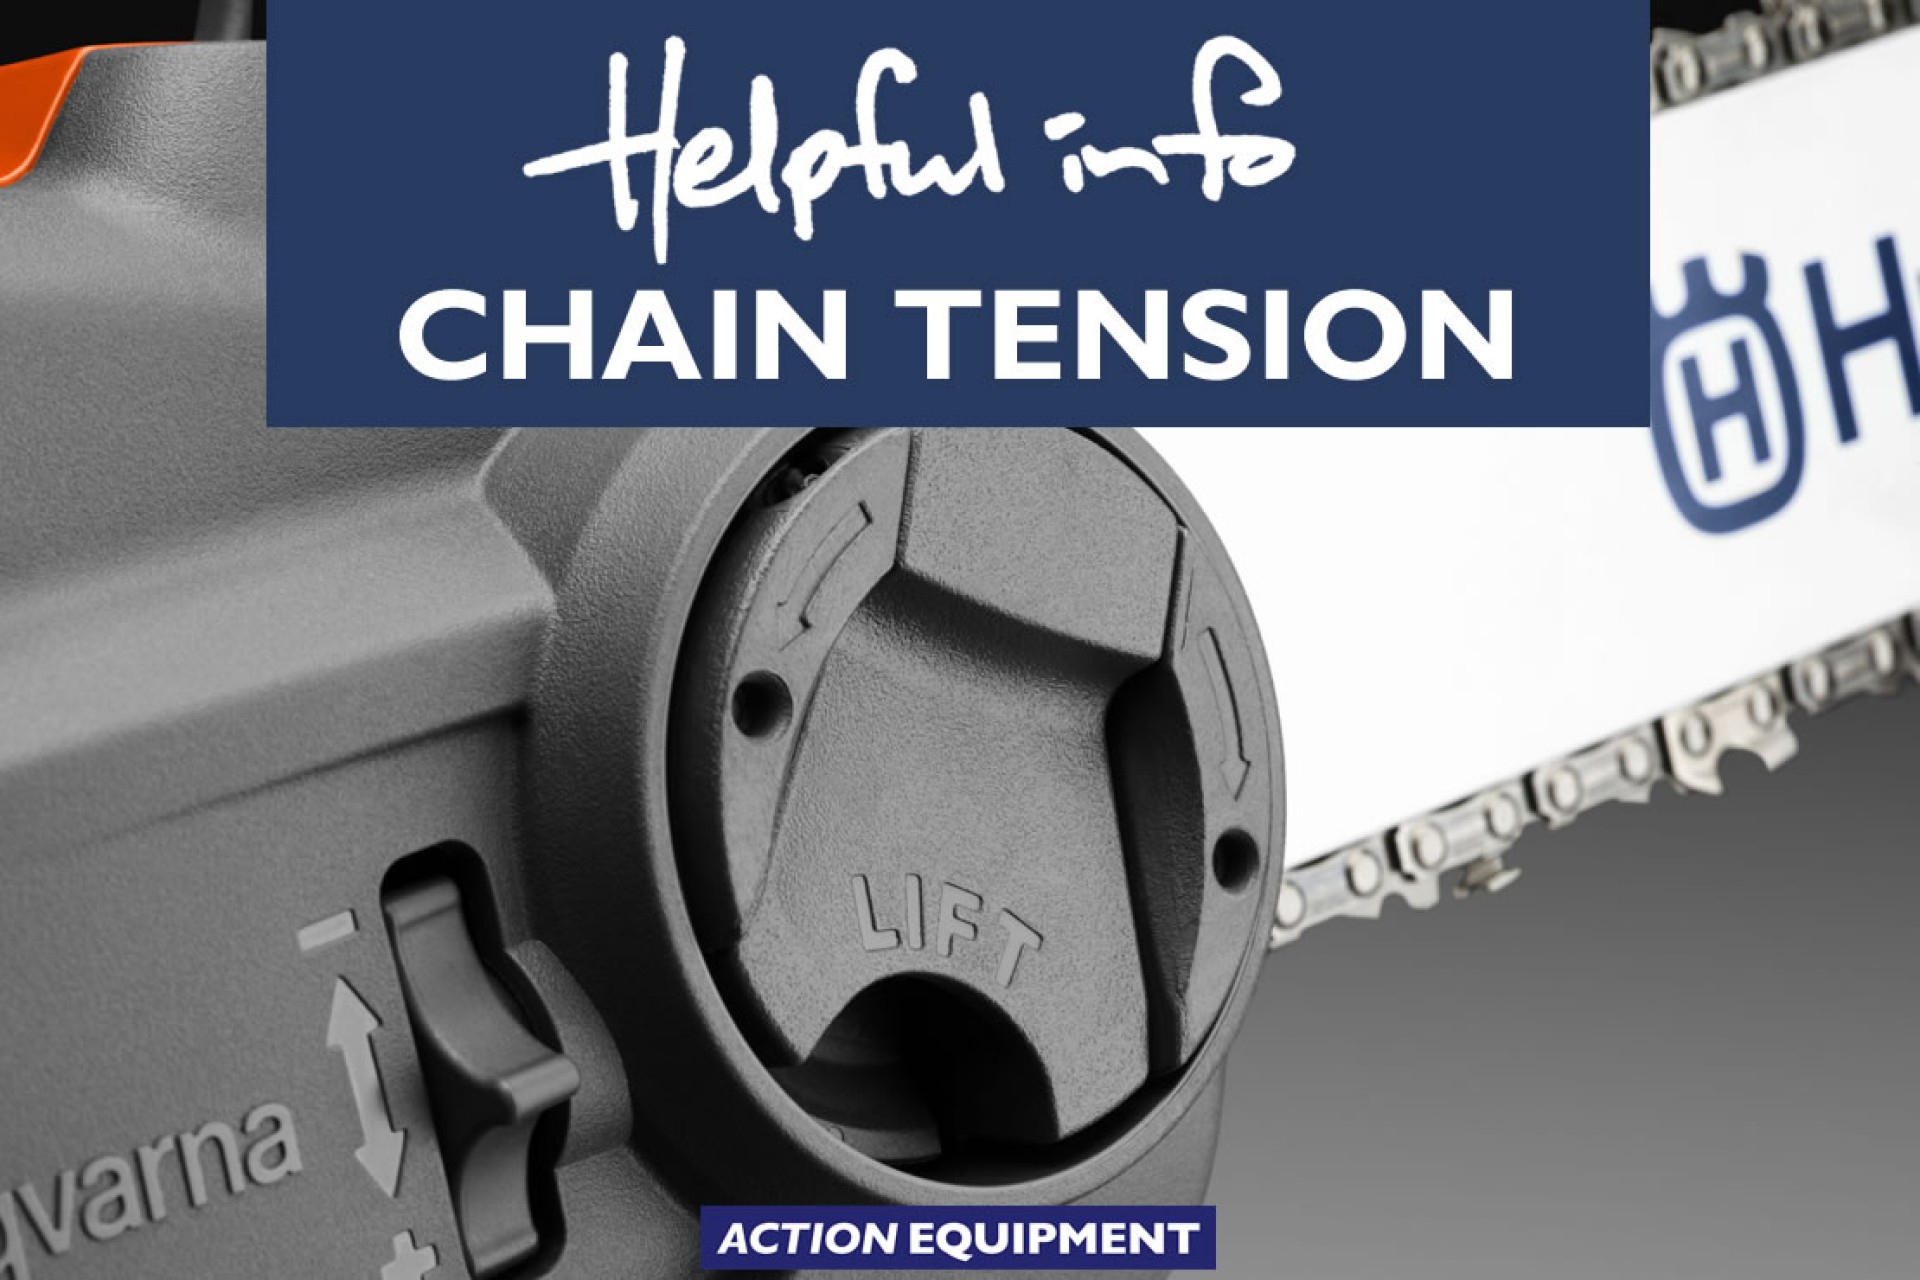
Chainsaws Tensioning a chainsaw chain
Follow these simple steps to make sure your saw is always ready for use. -
Lawnmowers Mowing tips
The team at Action Equipment want to make sure you get the best performance from your ride-on mower. -
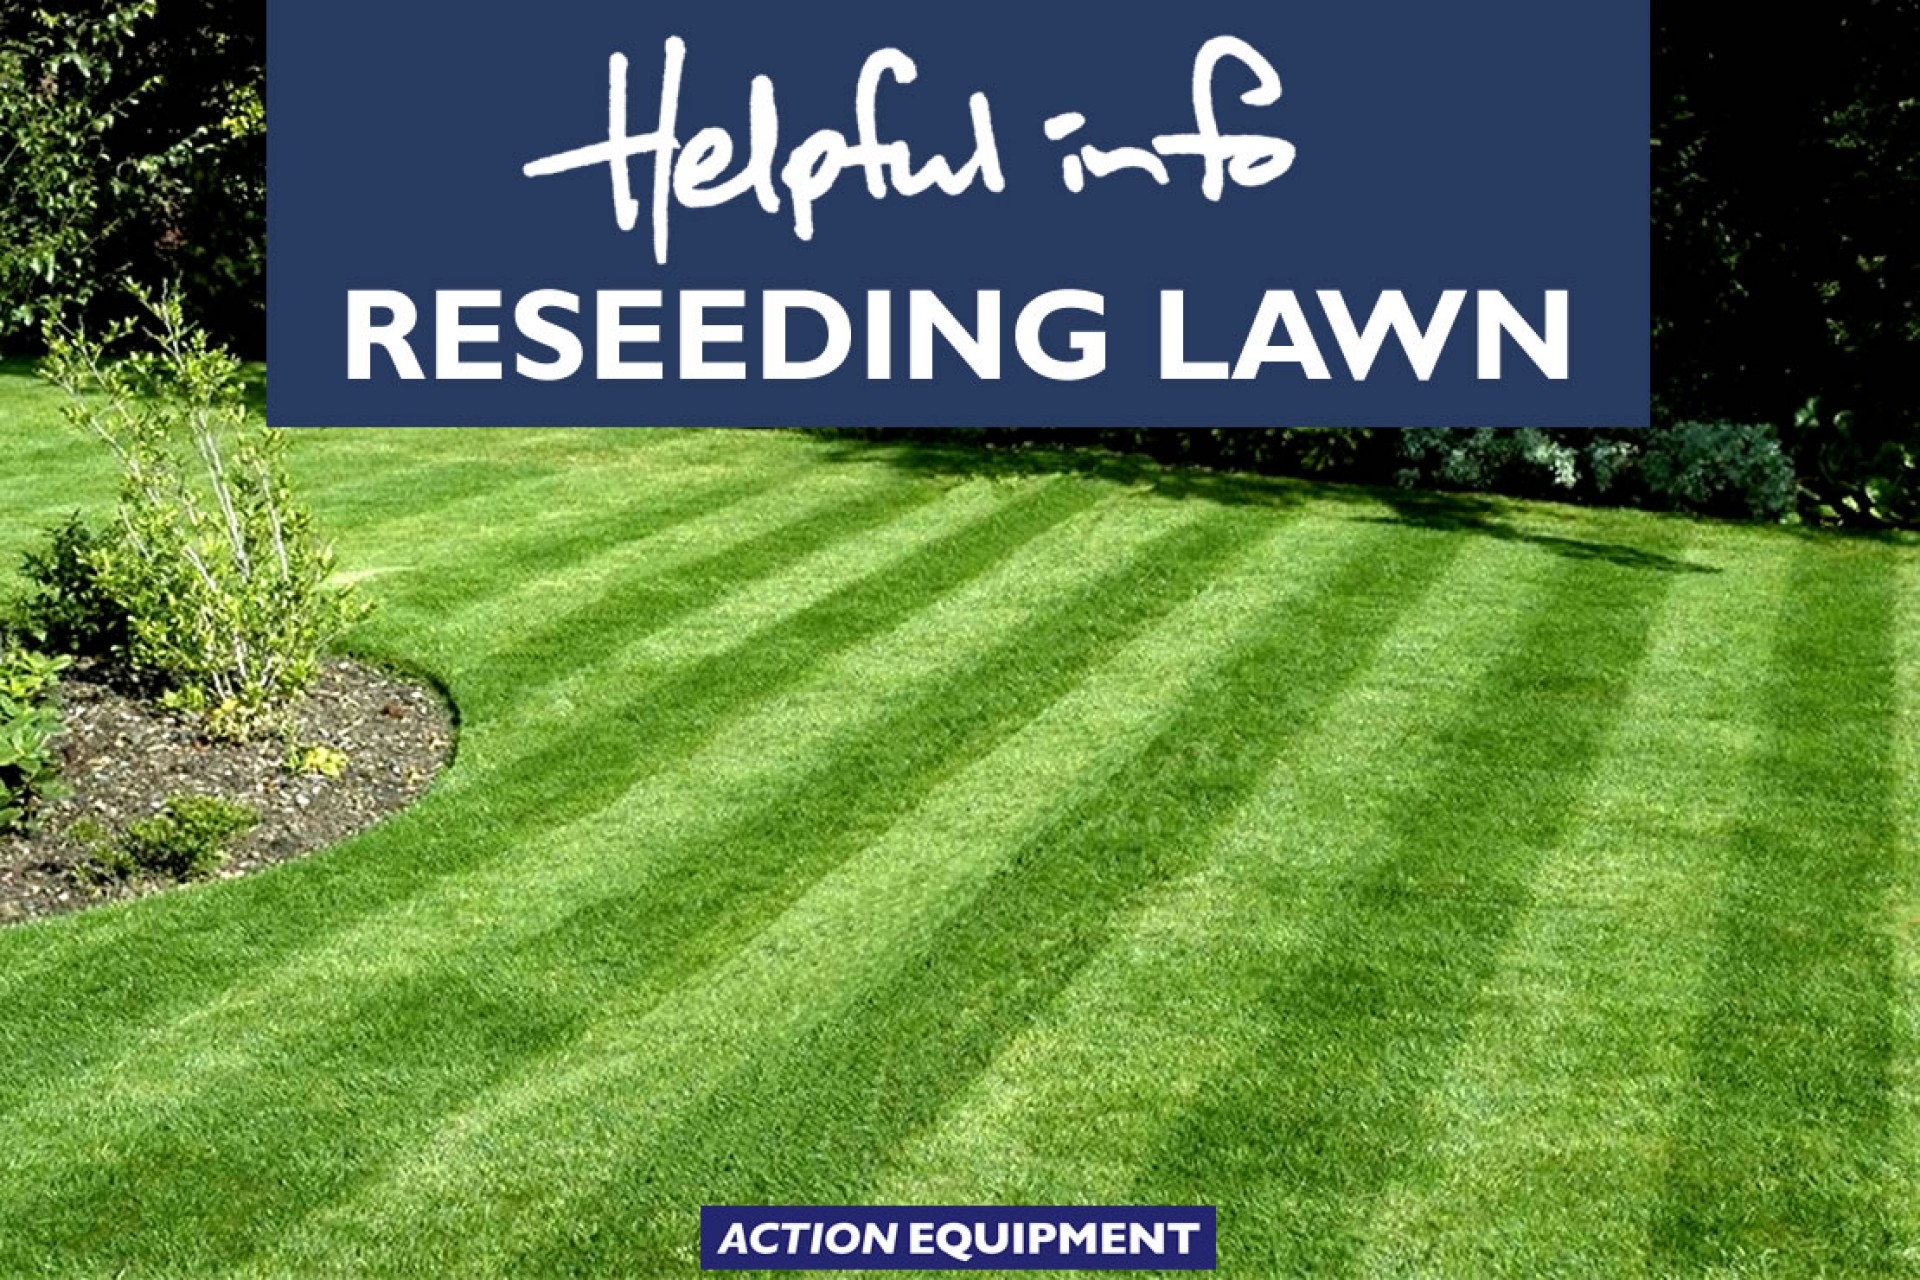
Gardening Reseeding lawn
When the weed-killer doesn’t bite and the brown patches take over, it’s easy to start doubting if your garden will ever look the same. But there’s hope. You can always start over with a lawn renovation. -
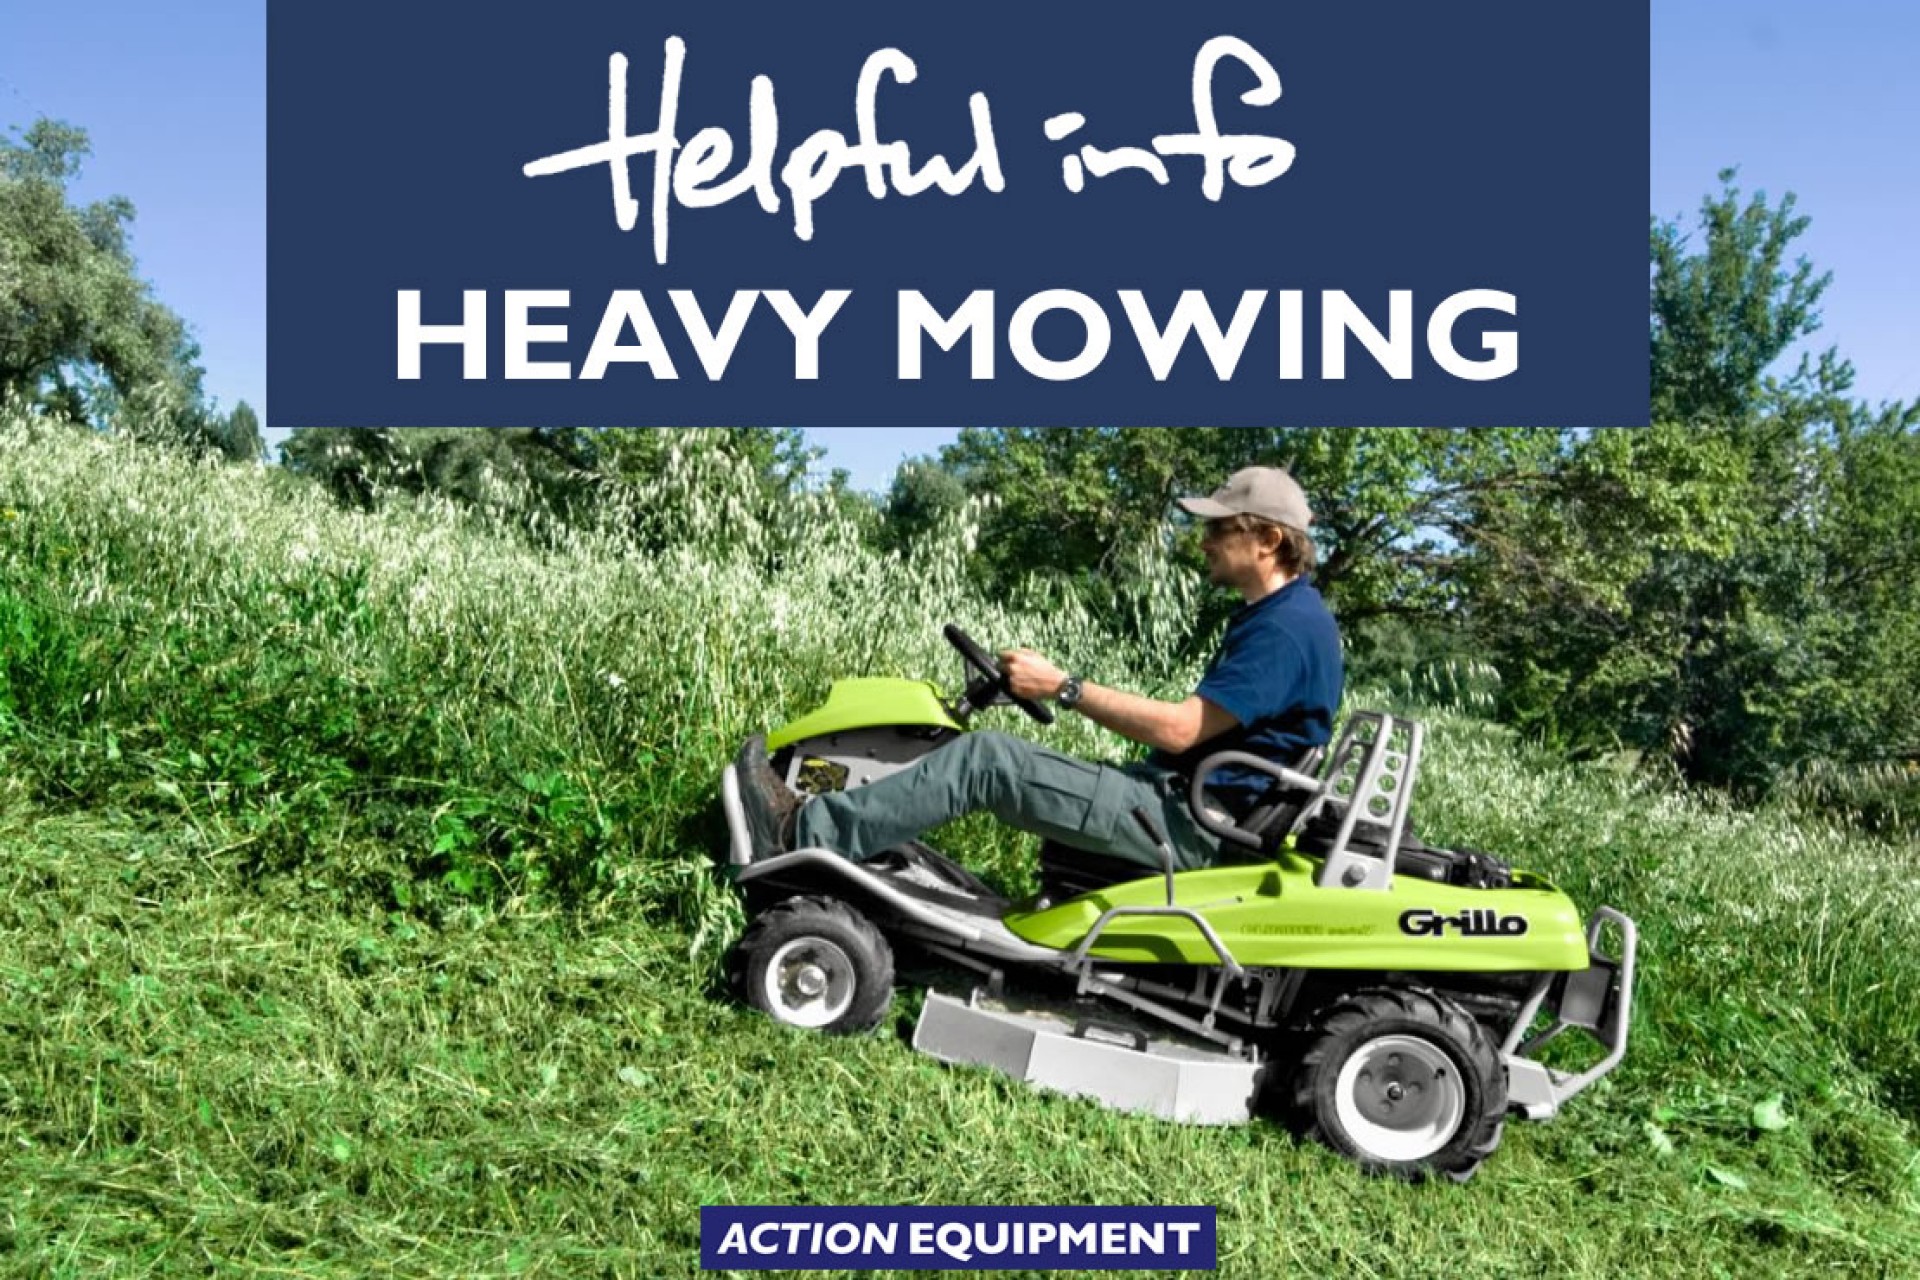
Ride On Mowers Mowing long grass & difficult terrain
You always need the right machine for mowing long grass. -
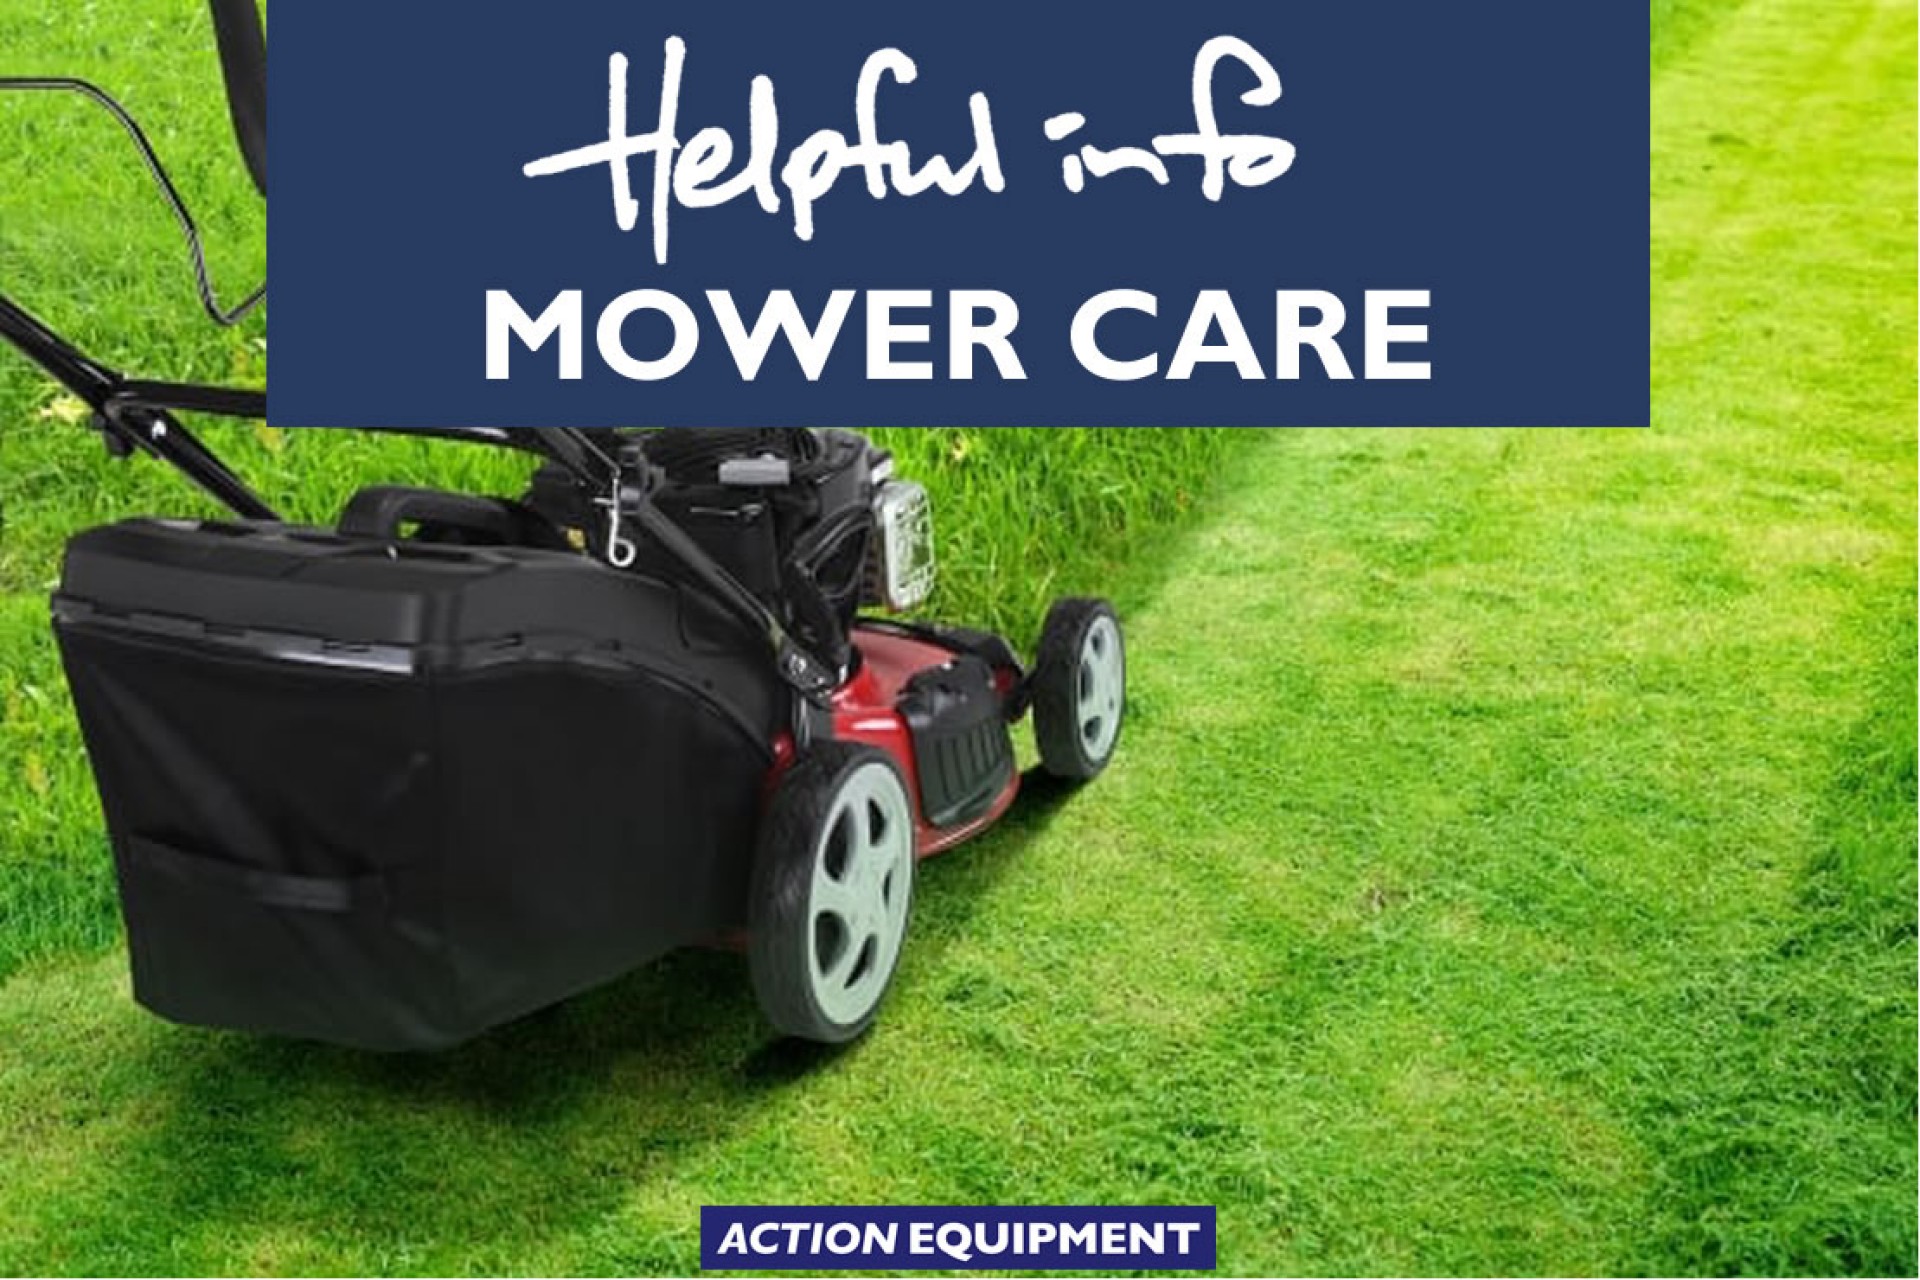
Lawnmowers Lawnmower maintenance tips
Watch a helpful video from Victa about simple lawnmower care. -
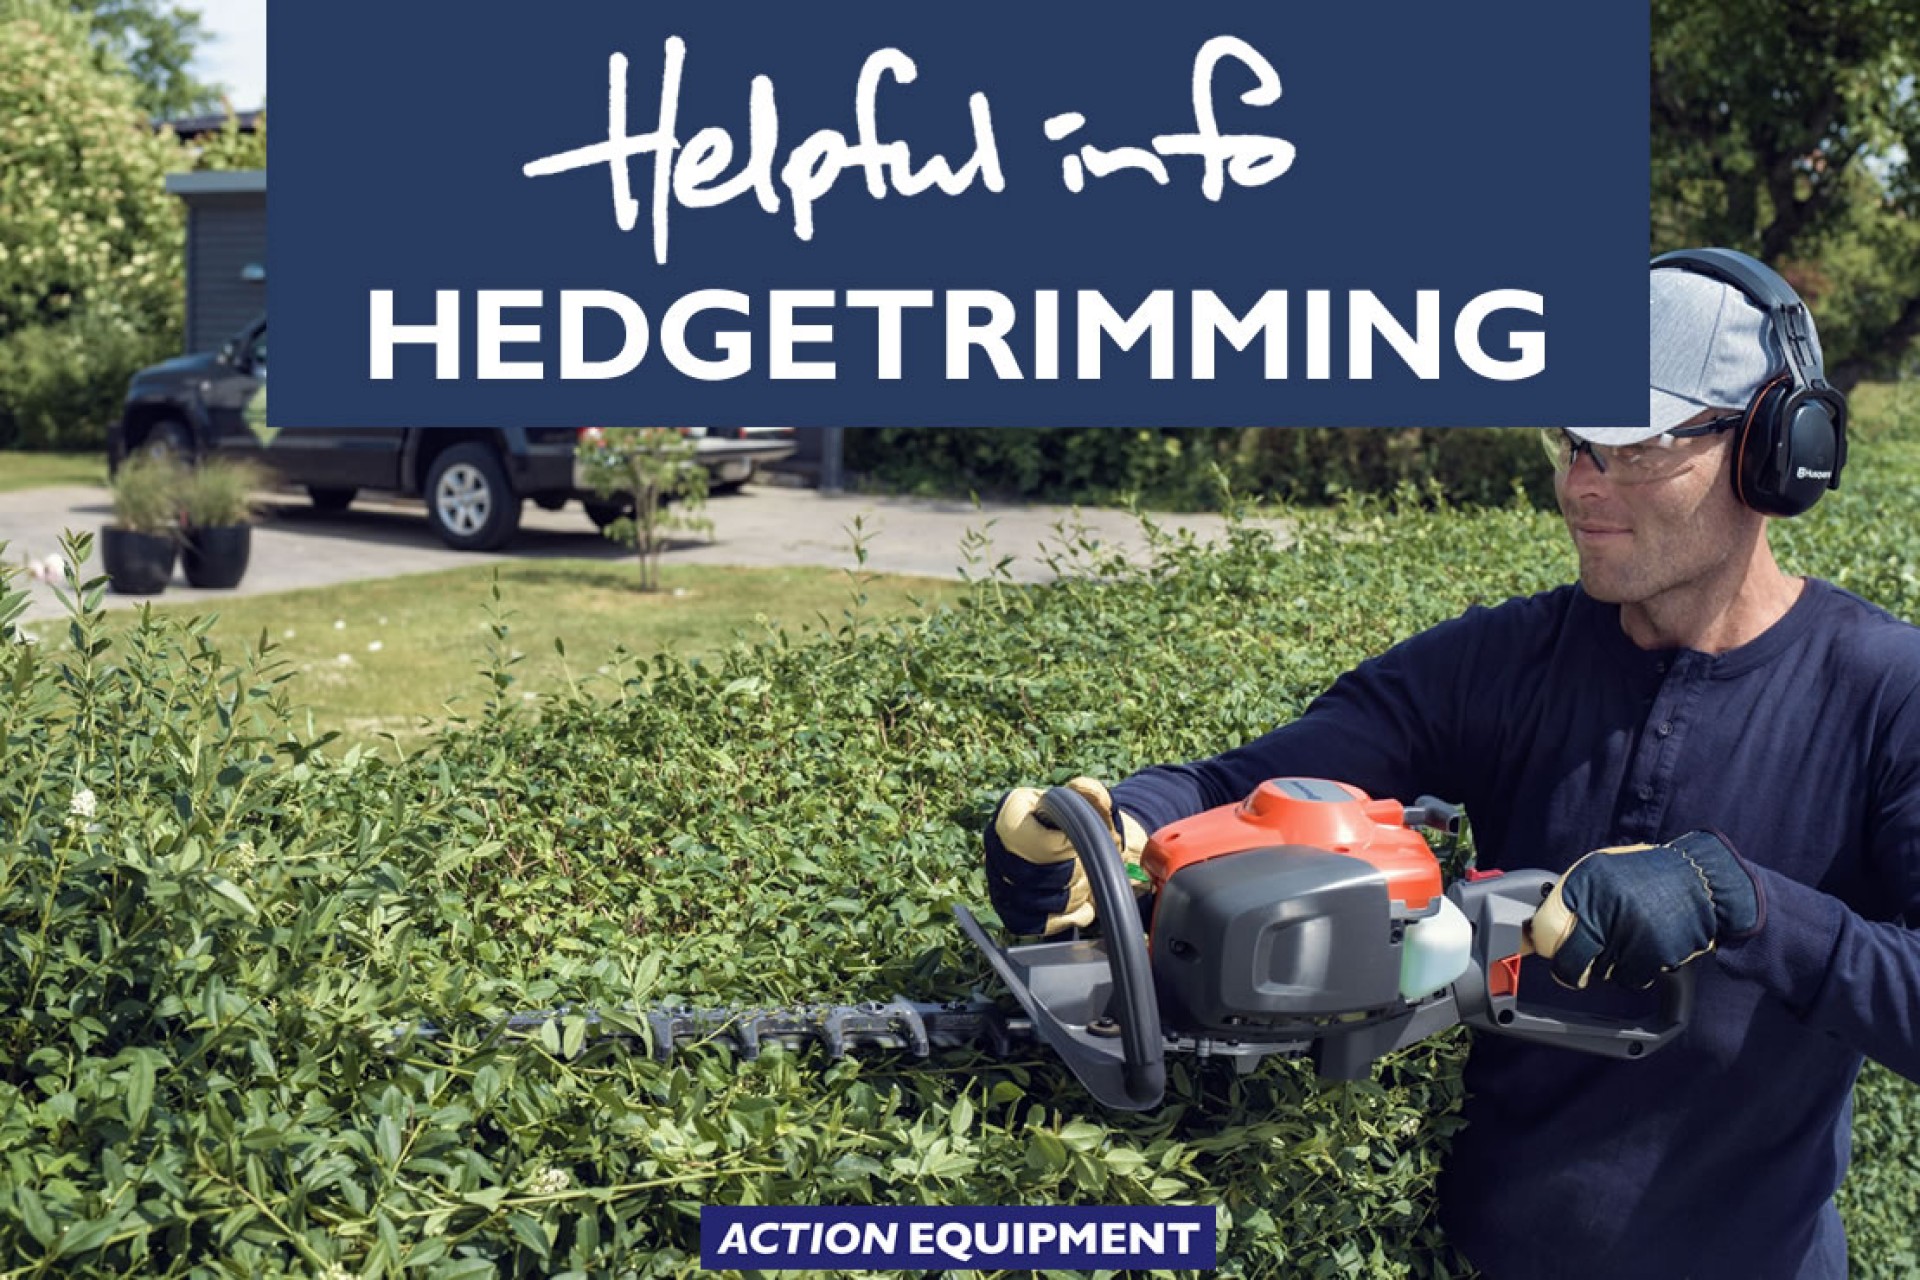
Gardening How to trim an overgrown hedge
Pruning and trimming hedges is an essential gardening skill that involves removing the dead or overgrown stems, roots and branches on hedges, trees and shrubs. -
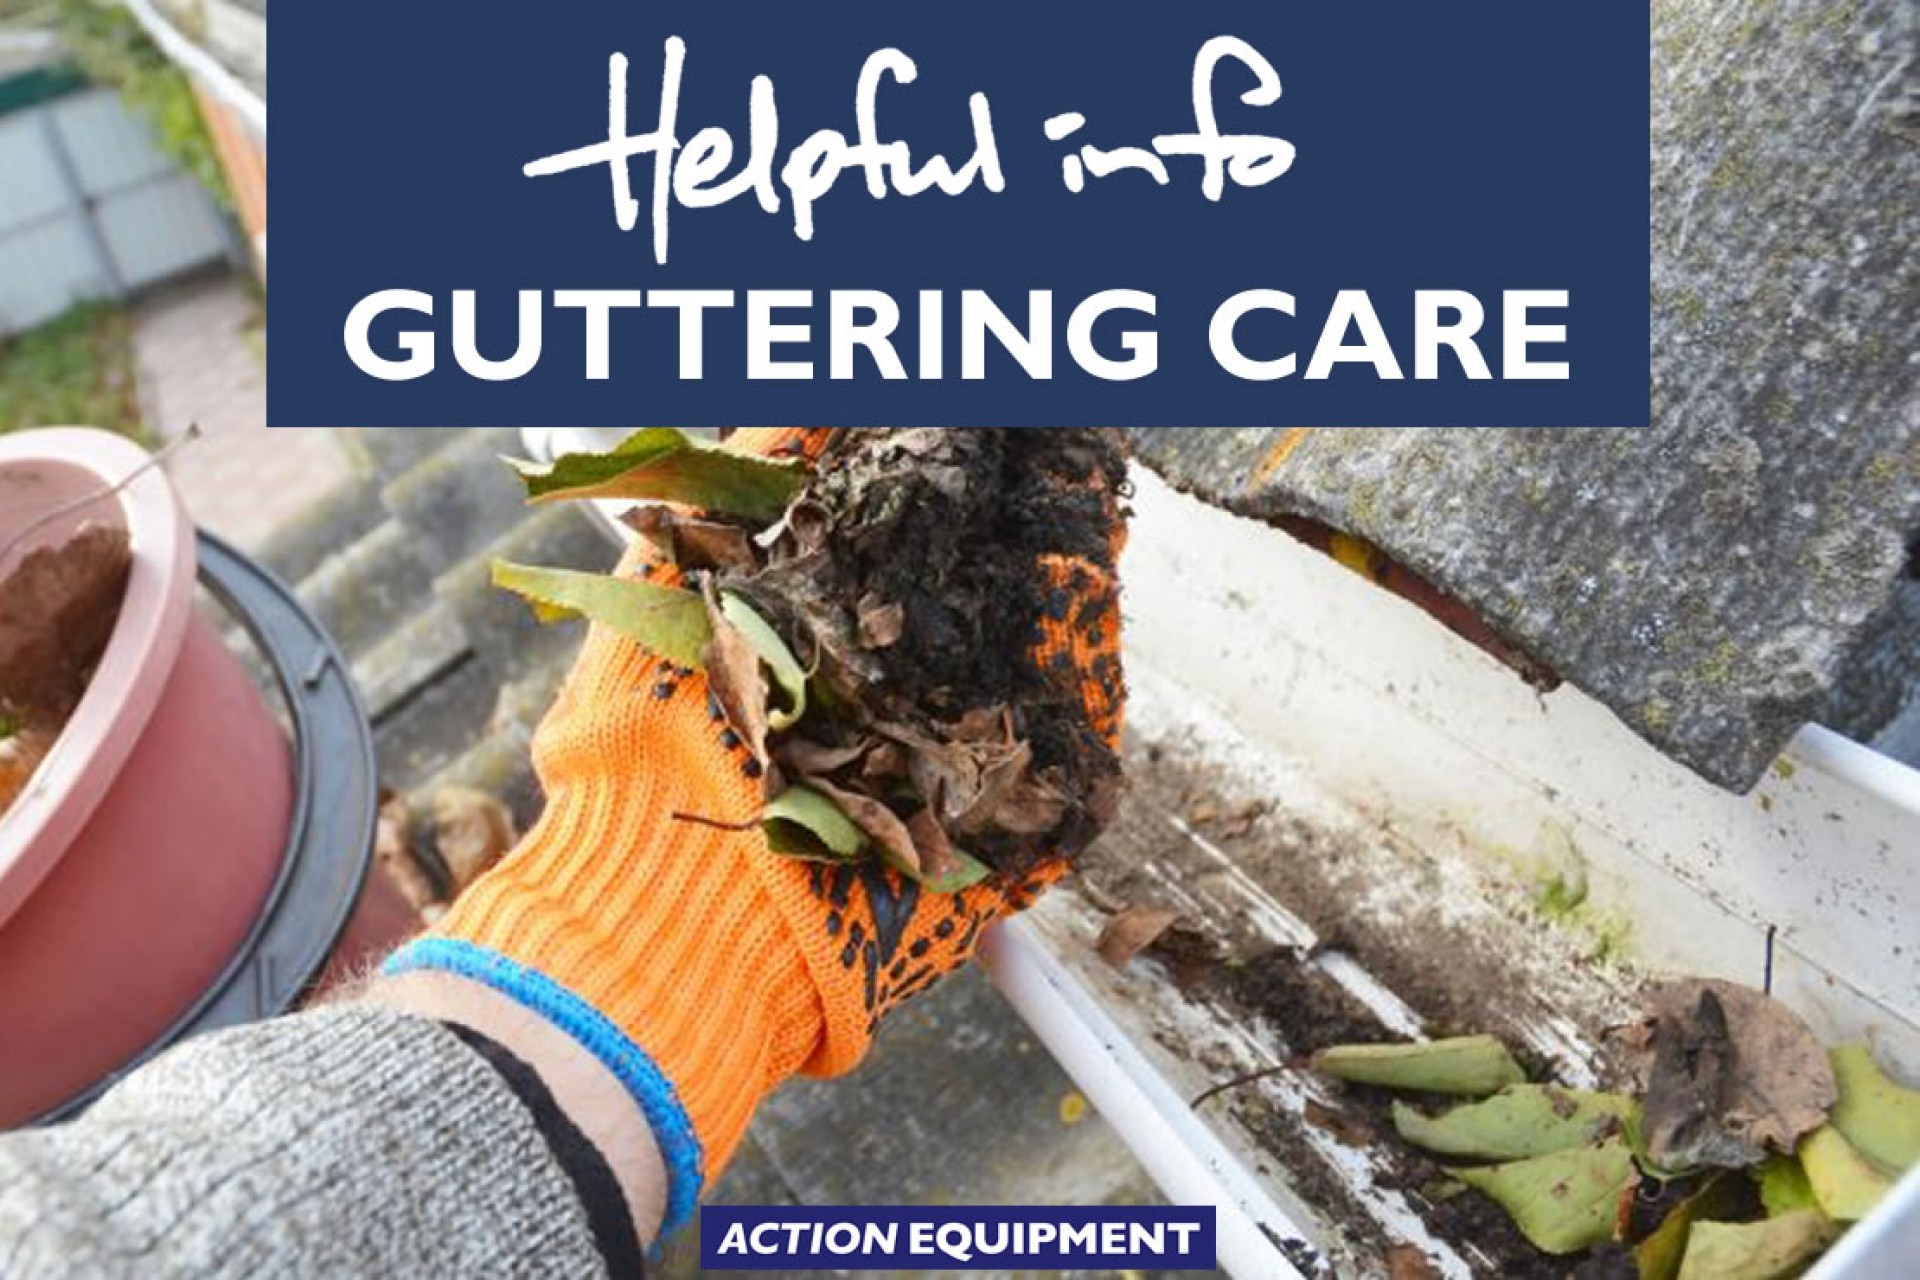
Gardening Top ten gutter cleaning tips
Over time, leaves, moss, debris and even birds nests can make it difficult for rainwater runoff to drain away properly. -
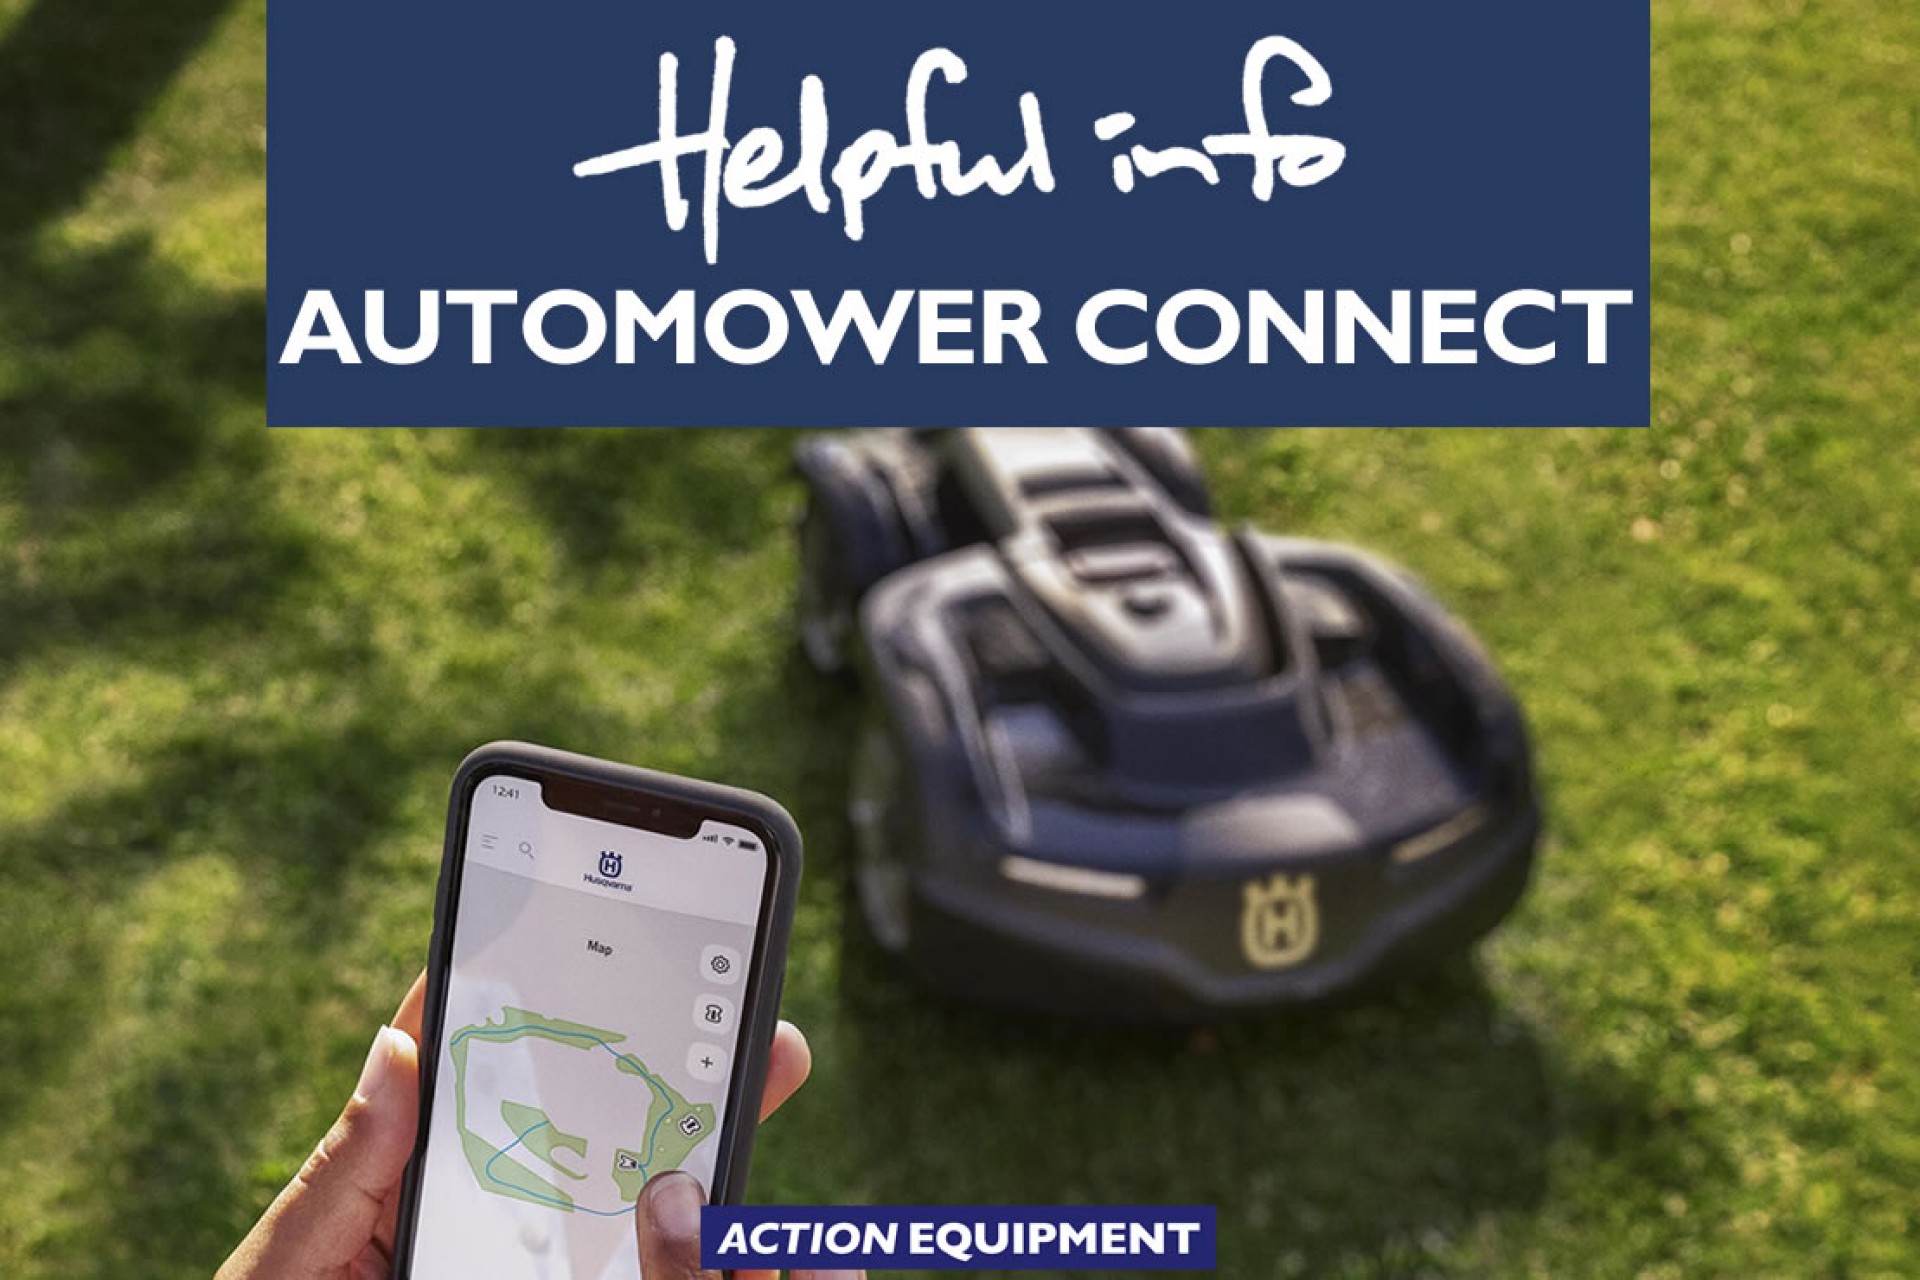
Robotic Mowers Controlling your automower by phone
Use Automower Connect via Bluetooth or cellular data. -
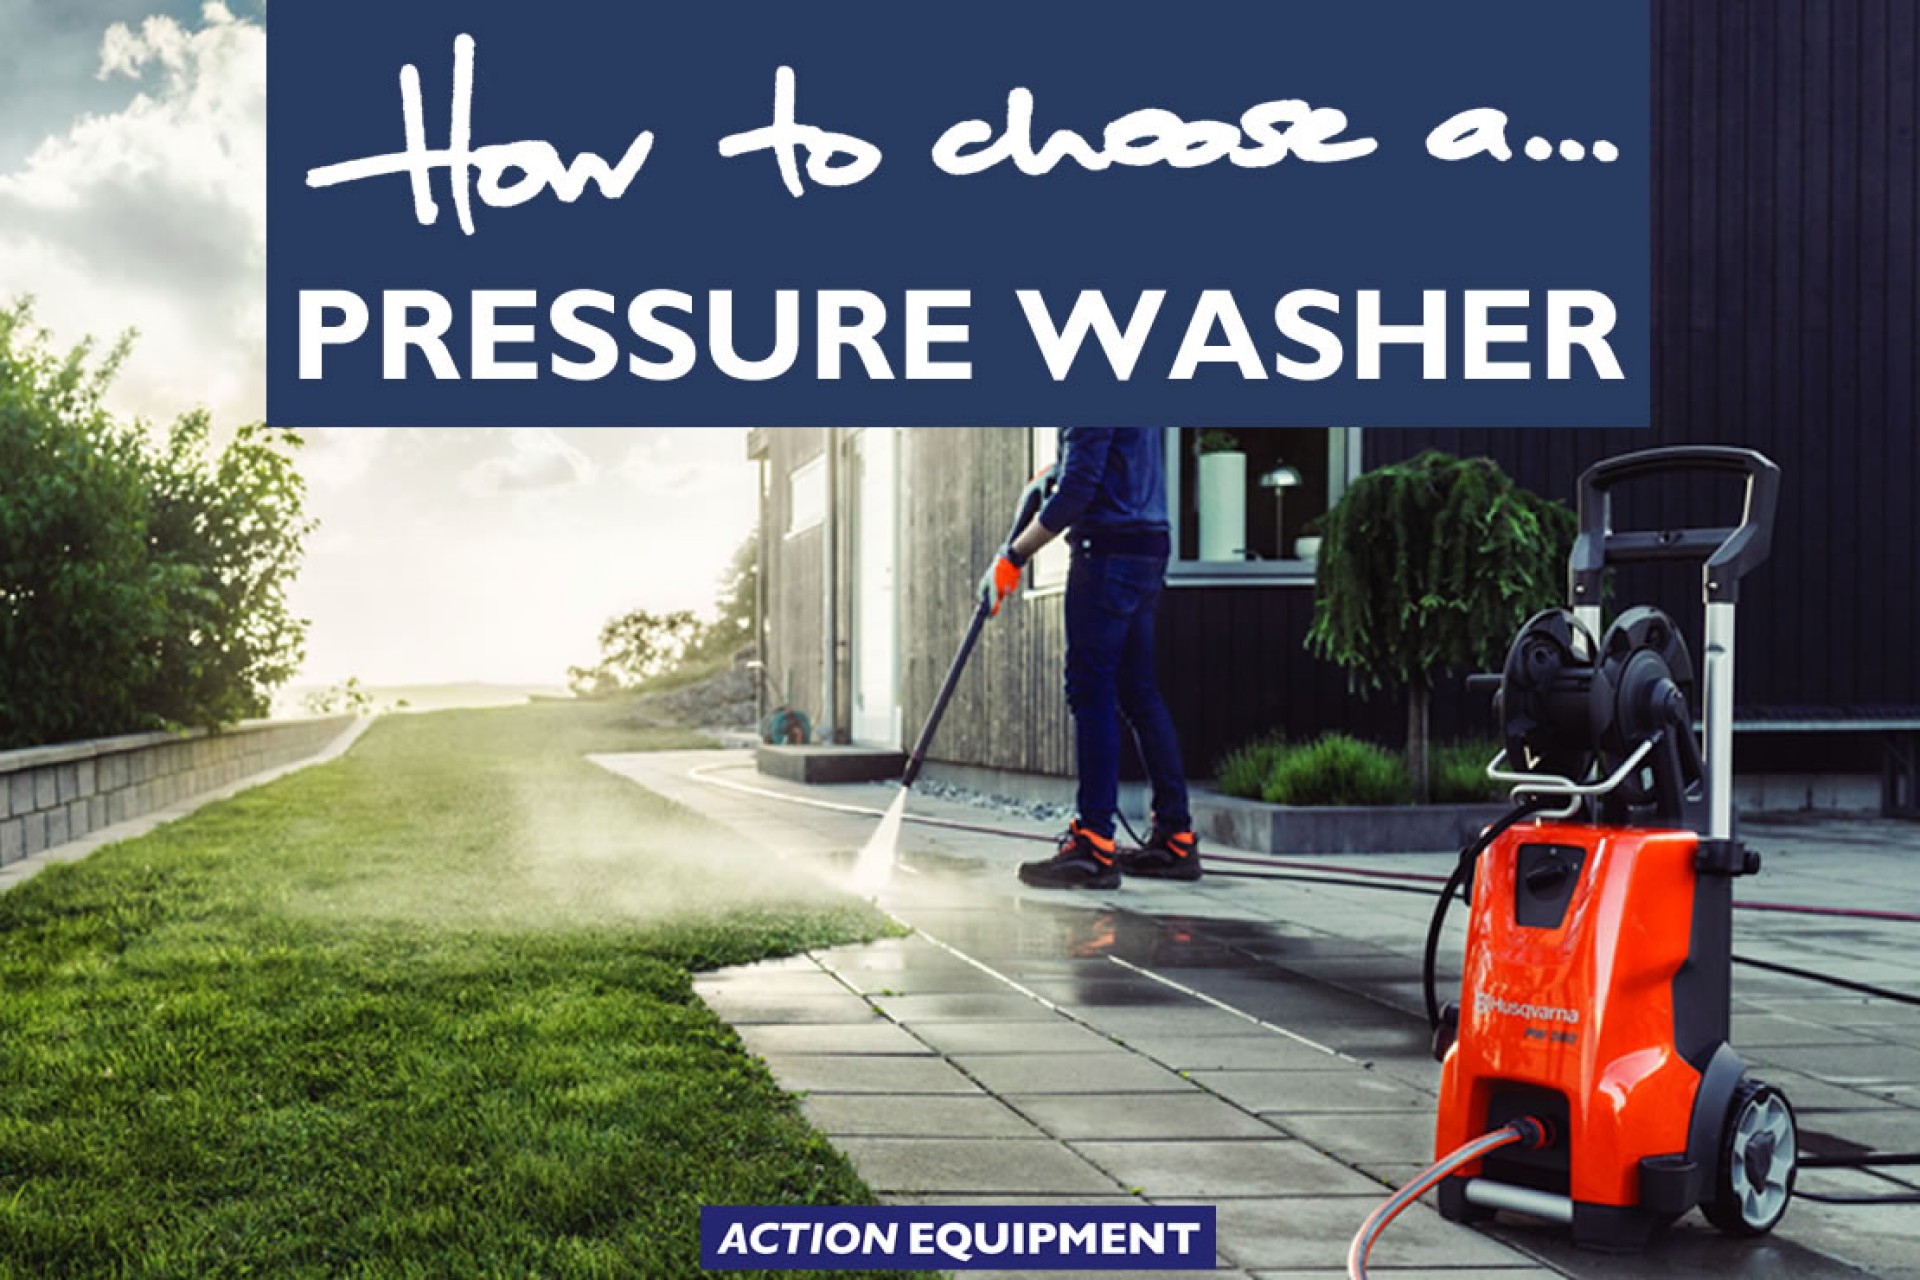
Pressure Washers How to choose a pressure washer
Almost every Kiwi property – large or small – has countless uses for a pressure washer. Once you’ve bought one, you’ll wonder how you ever managed without. But it’s important to choose one that best suits the uses you’ll put it to.
-
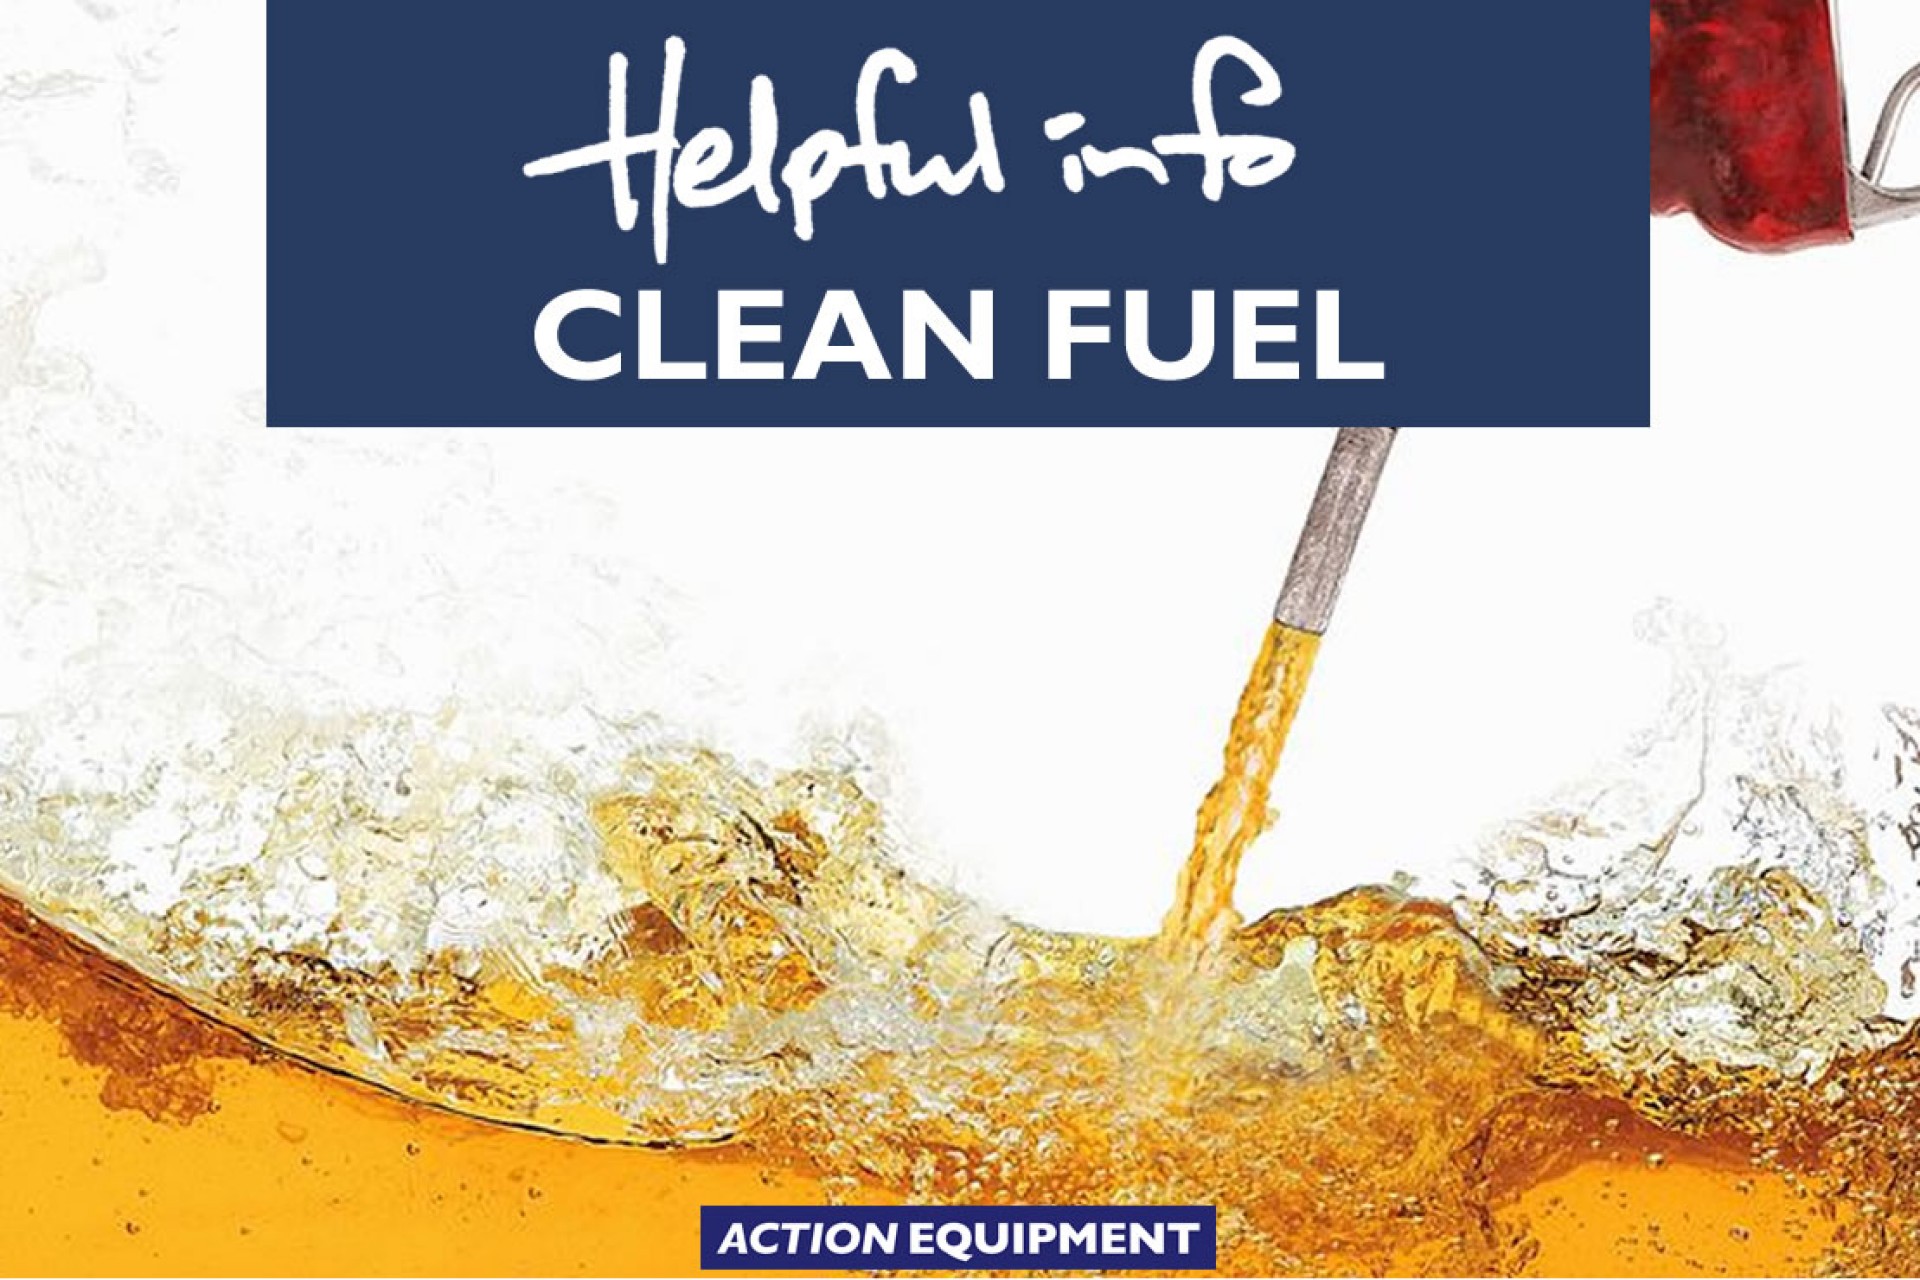
All Equipment How to avoid fuel contamination
Contaminated fuel is not easy to avoid. Especially as you have no way of checking its quality before filling up your fuel storage container. -
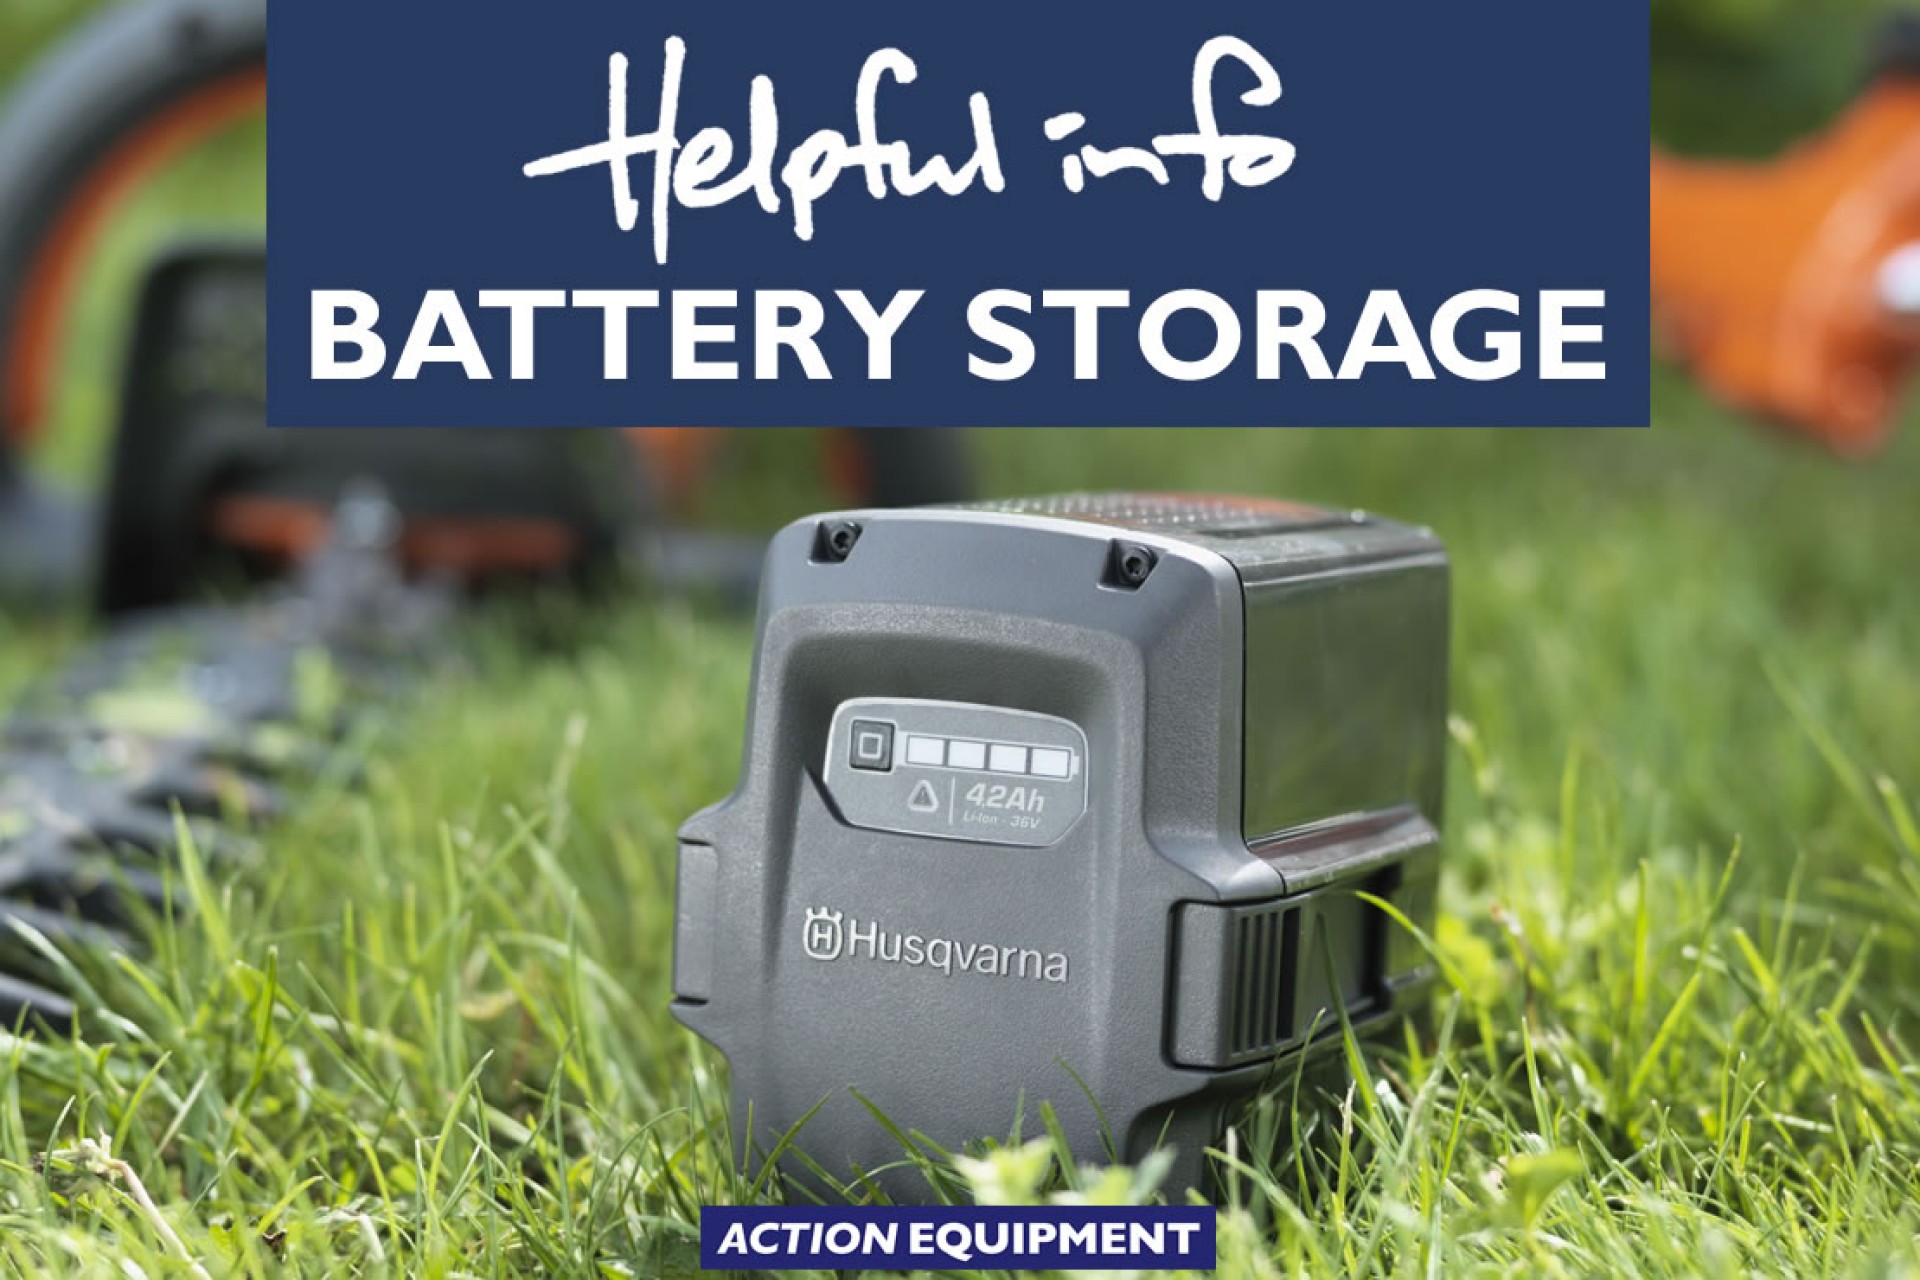
All Equipment Battery storage over winter
To extend the life of your batteries and ensure their maximum efficiency, it’s recommended that you remove the batteries from equipment if they won’t be used for a while. -
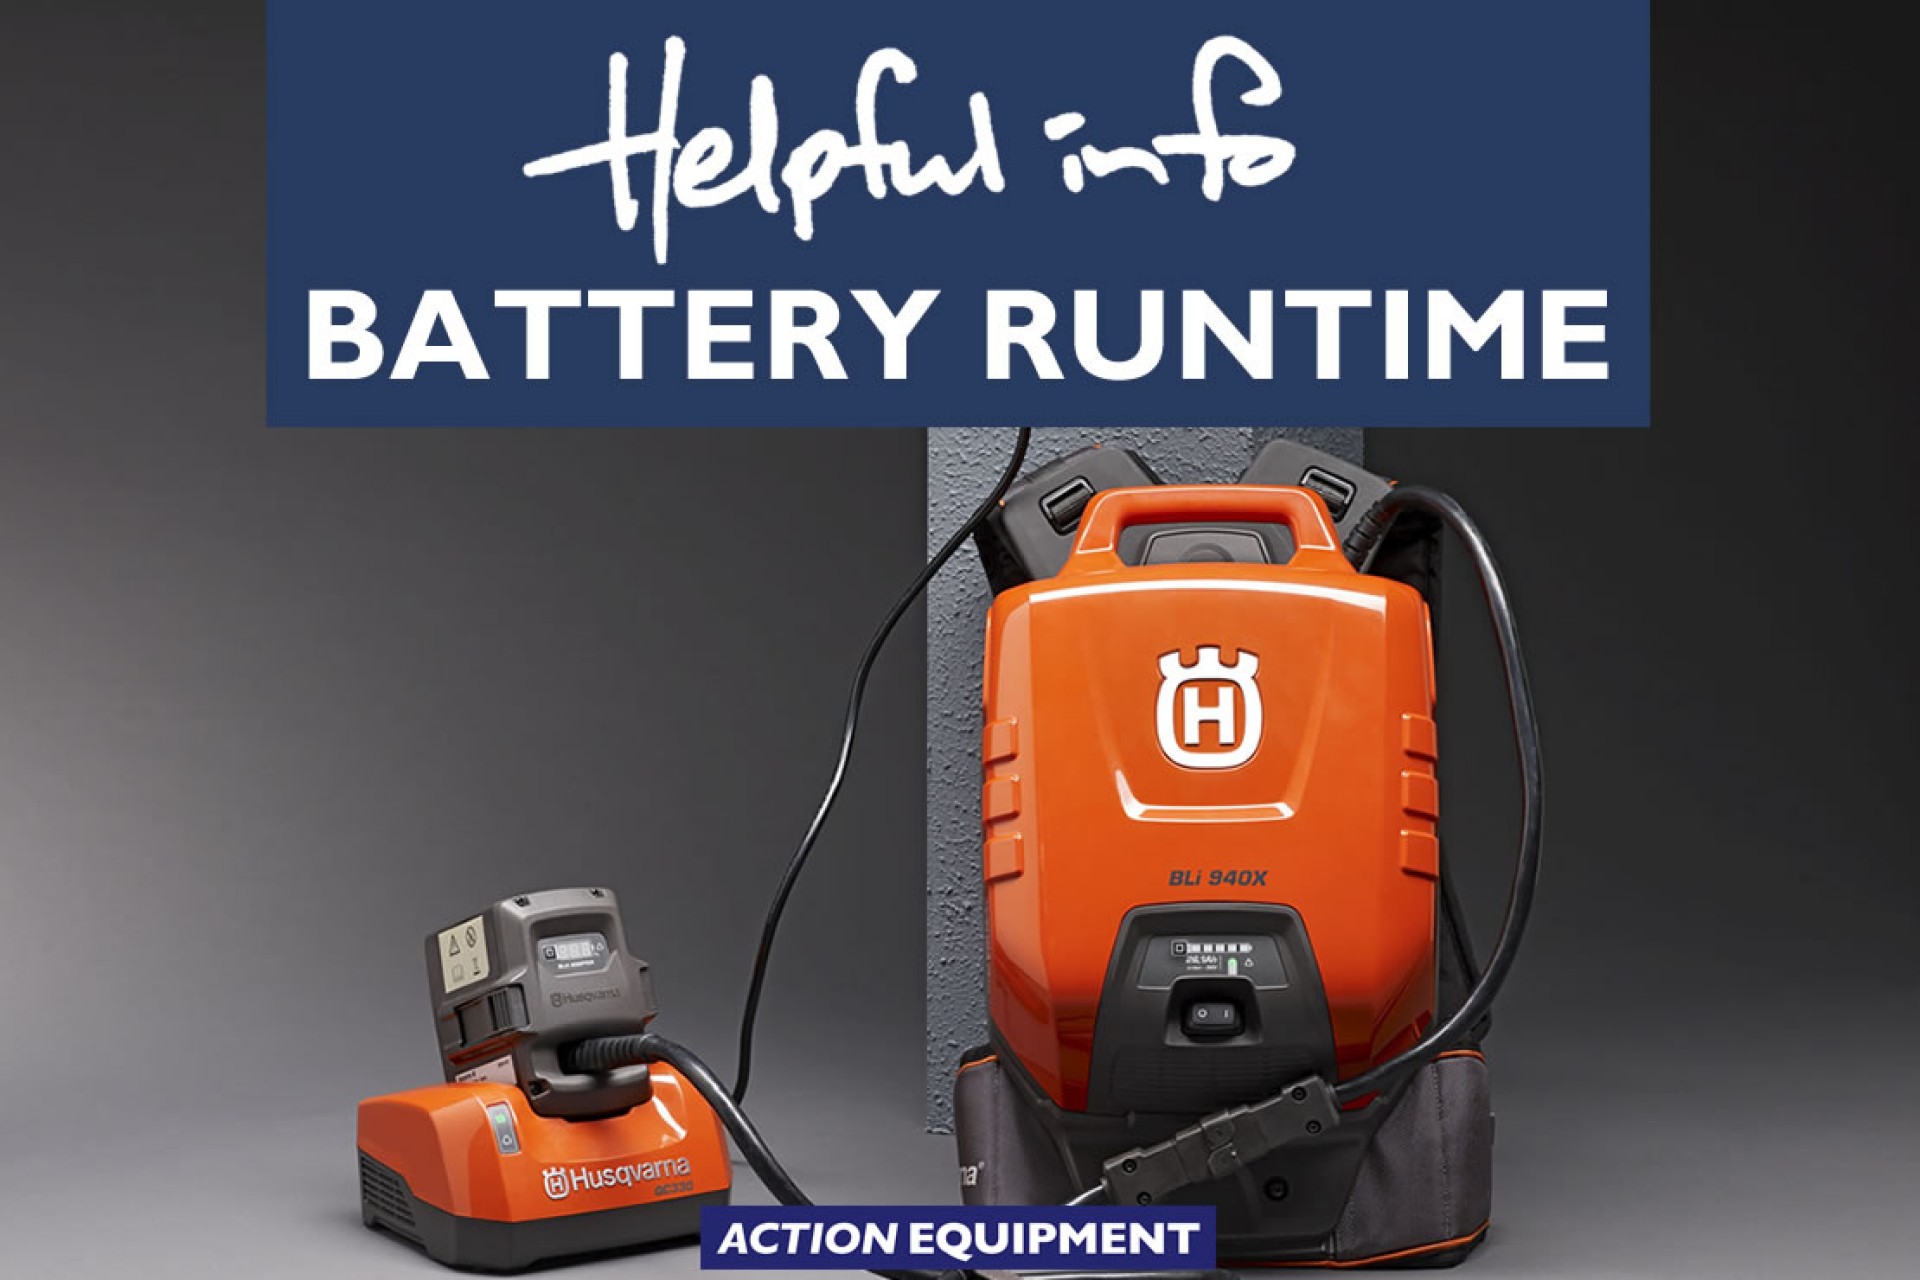
All Equipment Battery charging time
See which Husqvarna batteries suit which equipment. -

PPE How to choose protective clothing
See the features of the Husqvarna protective clothing range. -
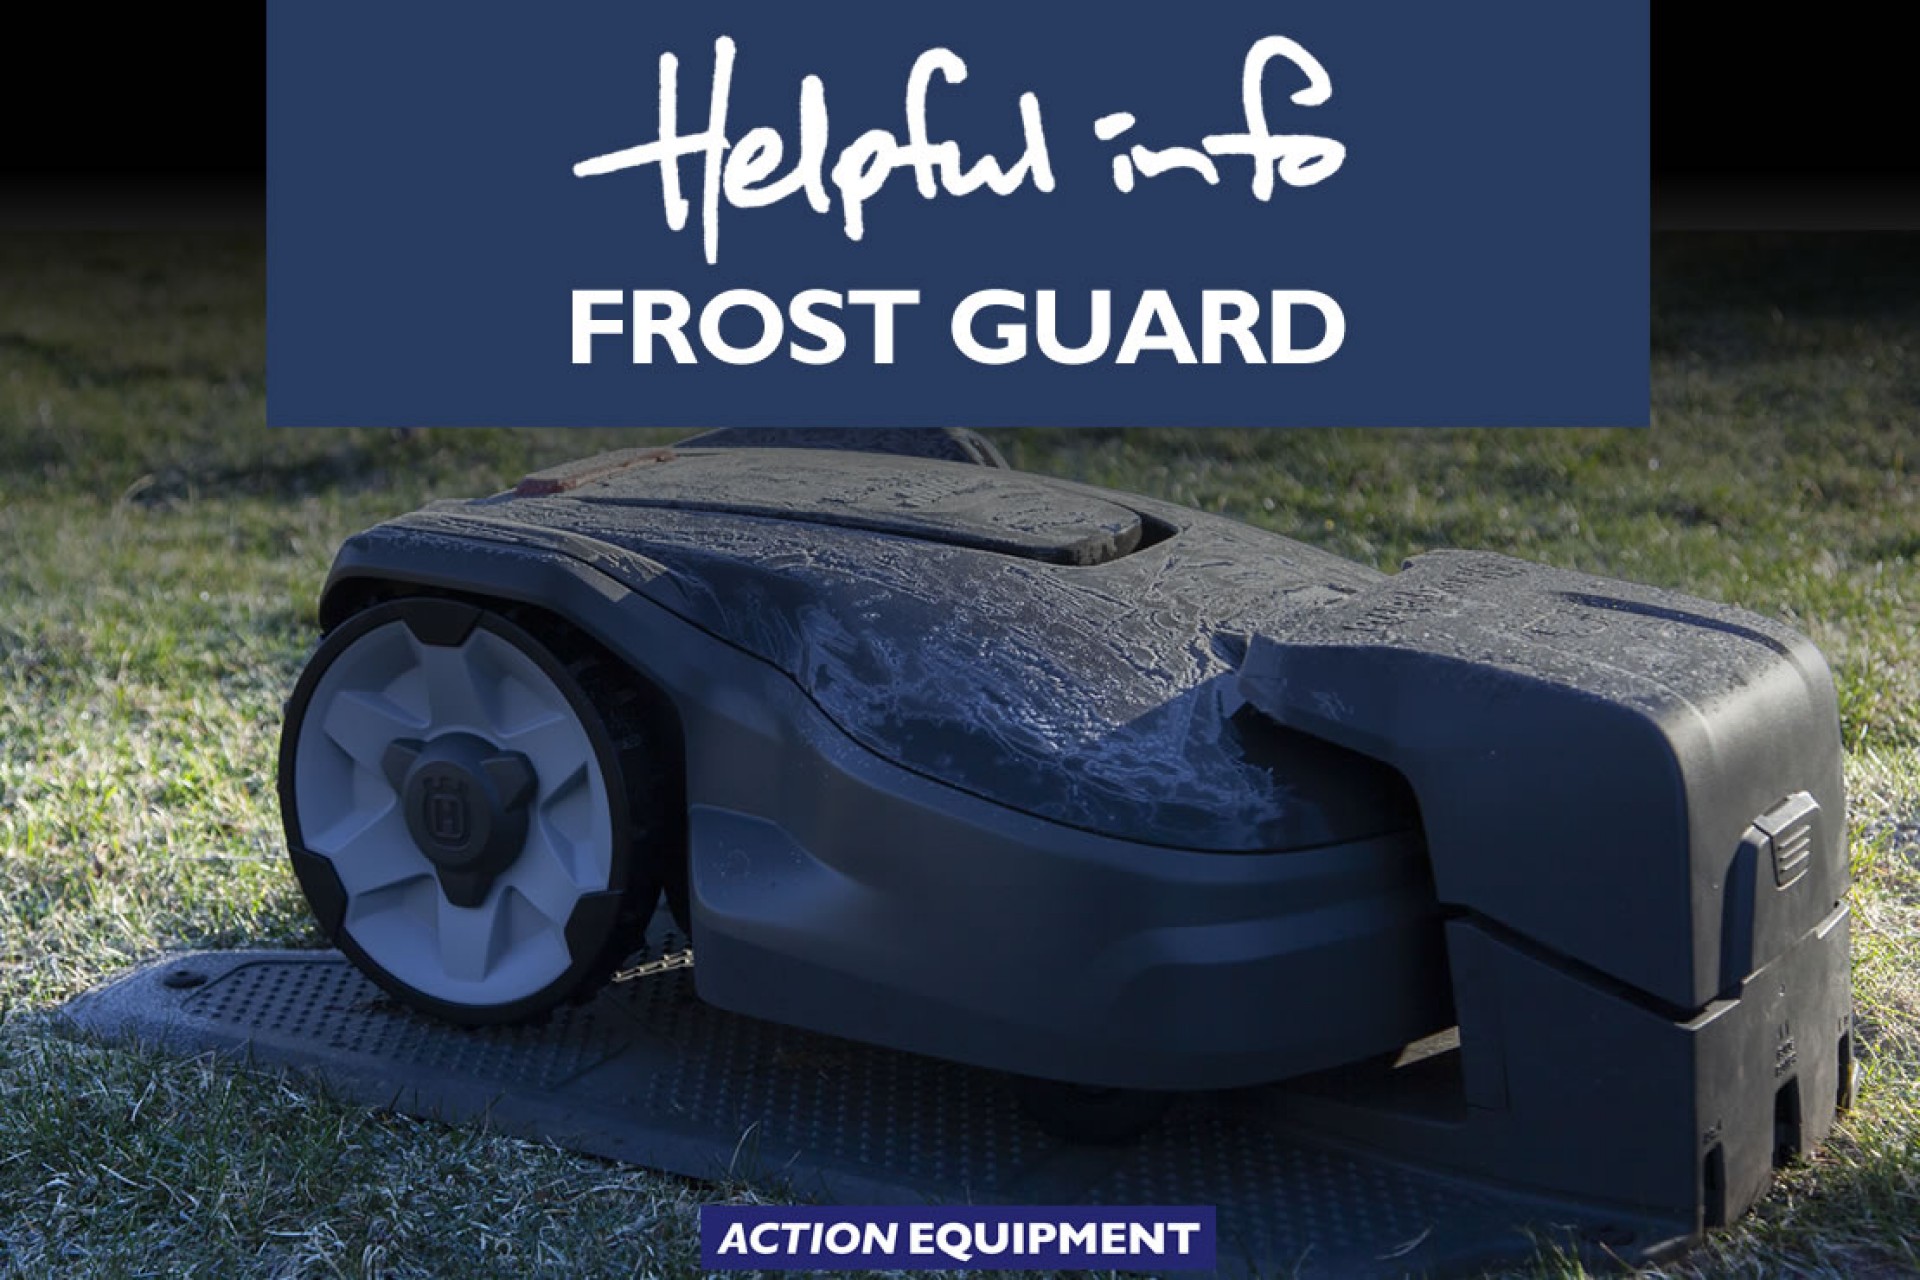
Robotic Mowers Automower Frost Guard and How It Works
New Zealand’s harsh and varying weather conditions can wreak havoc on your garden, and especially your lawn. -
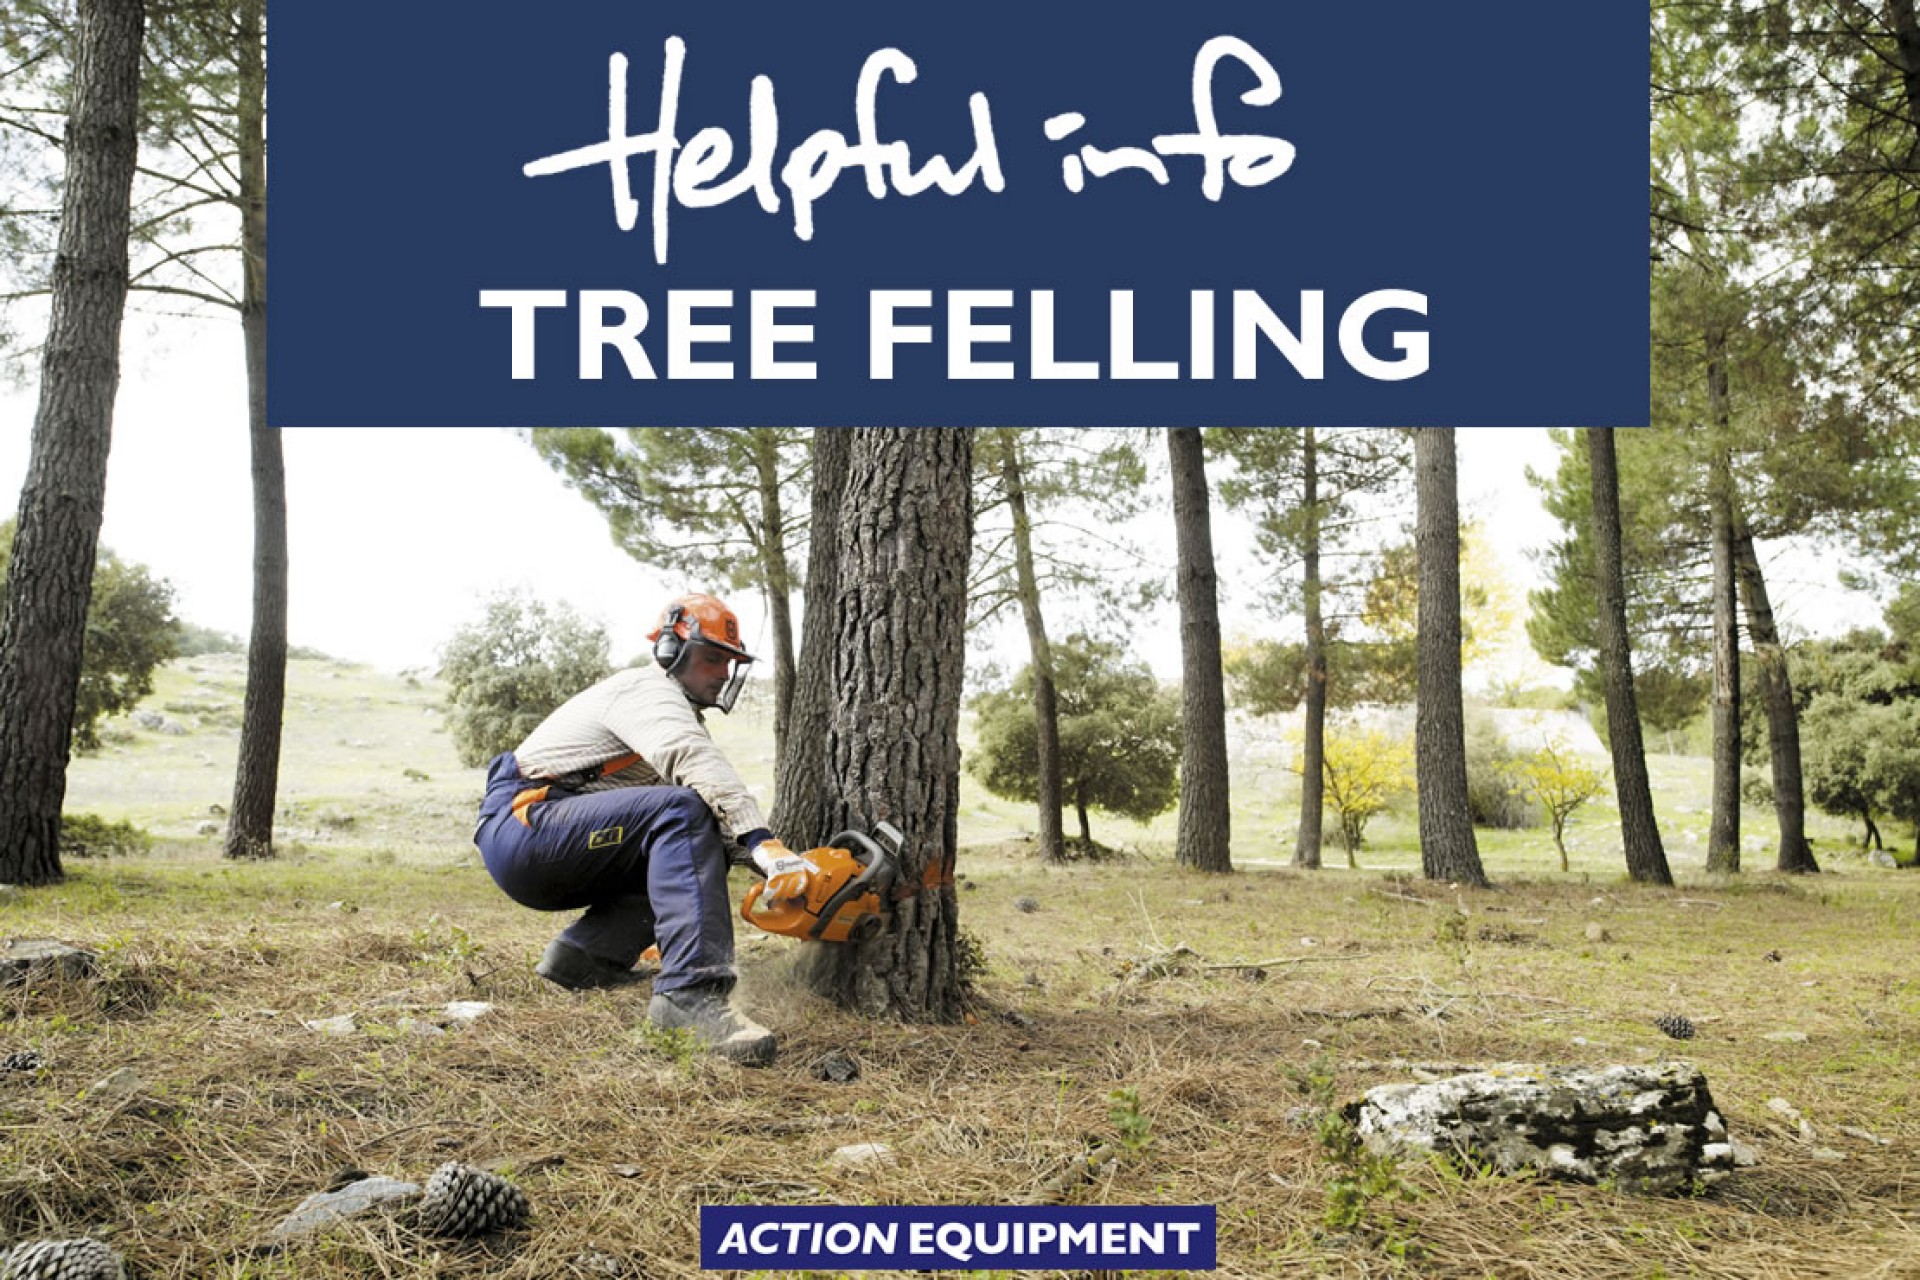
Chainsaws Successful tree felling
When felling trees, the correct working techniques are essential. Not only to create a safe working environment, but also to be more effective when working. -
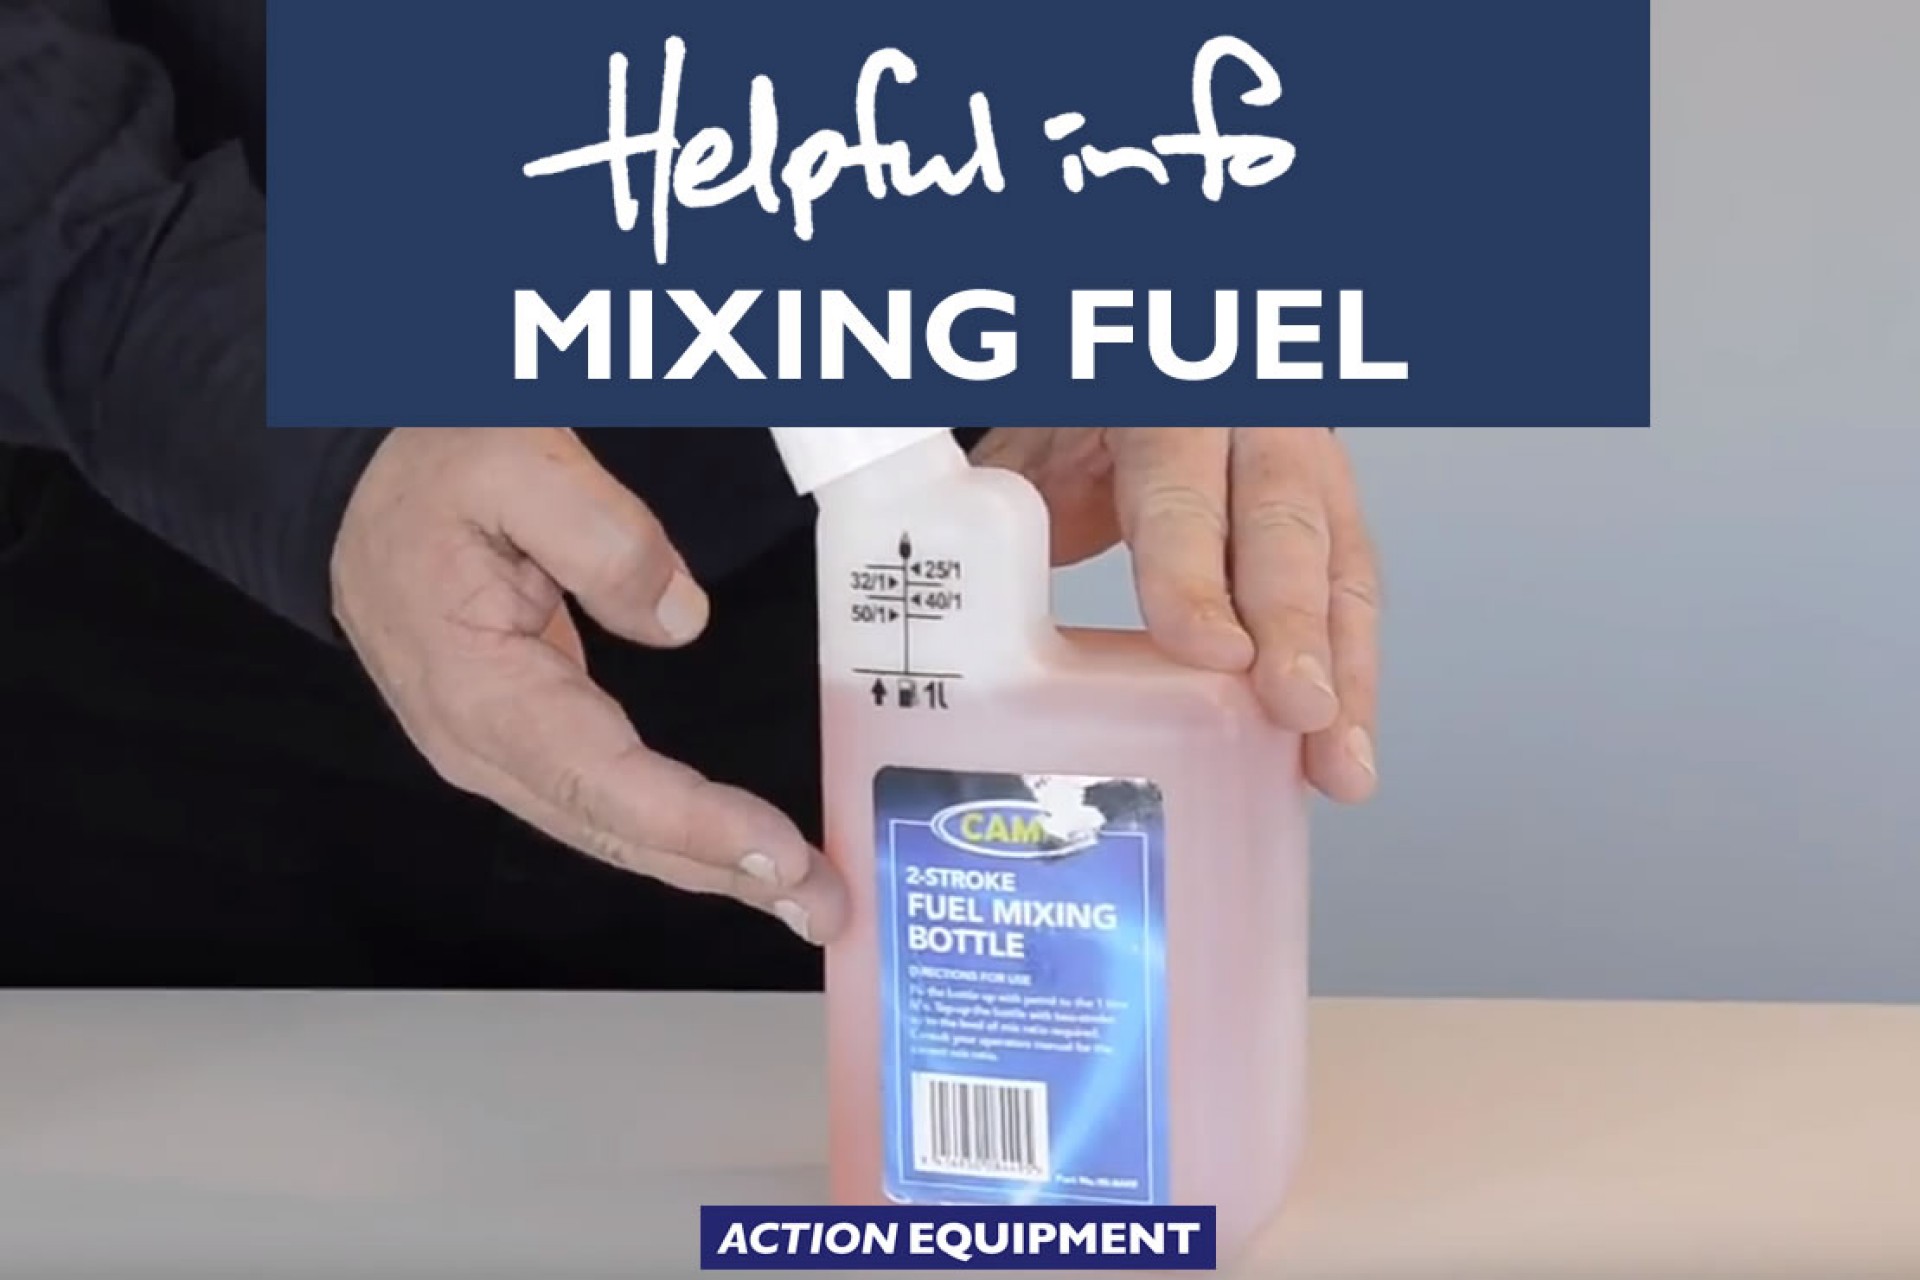
All Equipment How to mix fuel
A quick video on how to easily mix two-stroke fuel for your handheld equipment. -
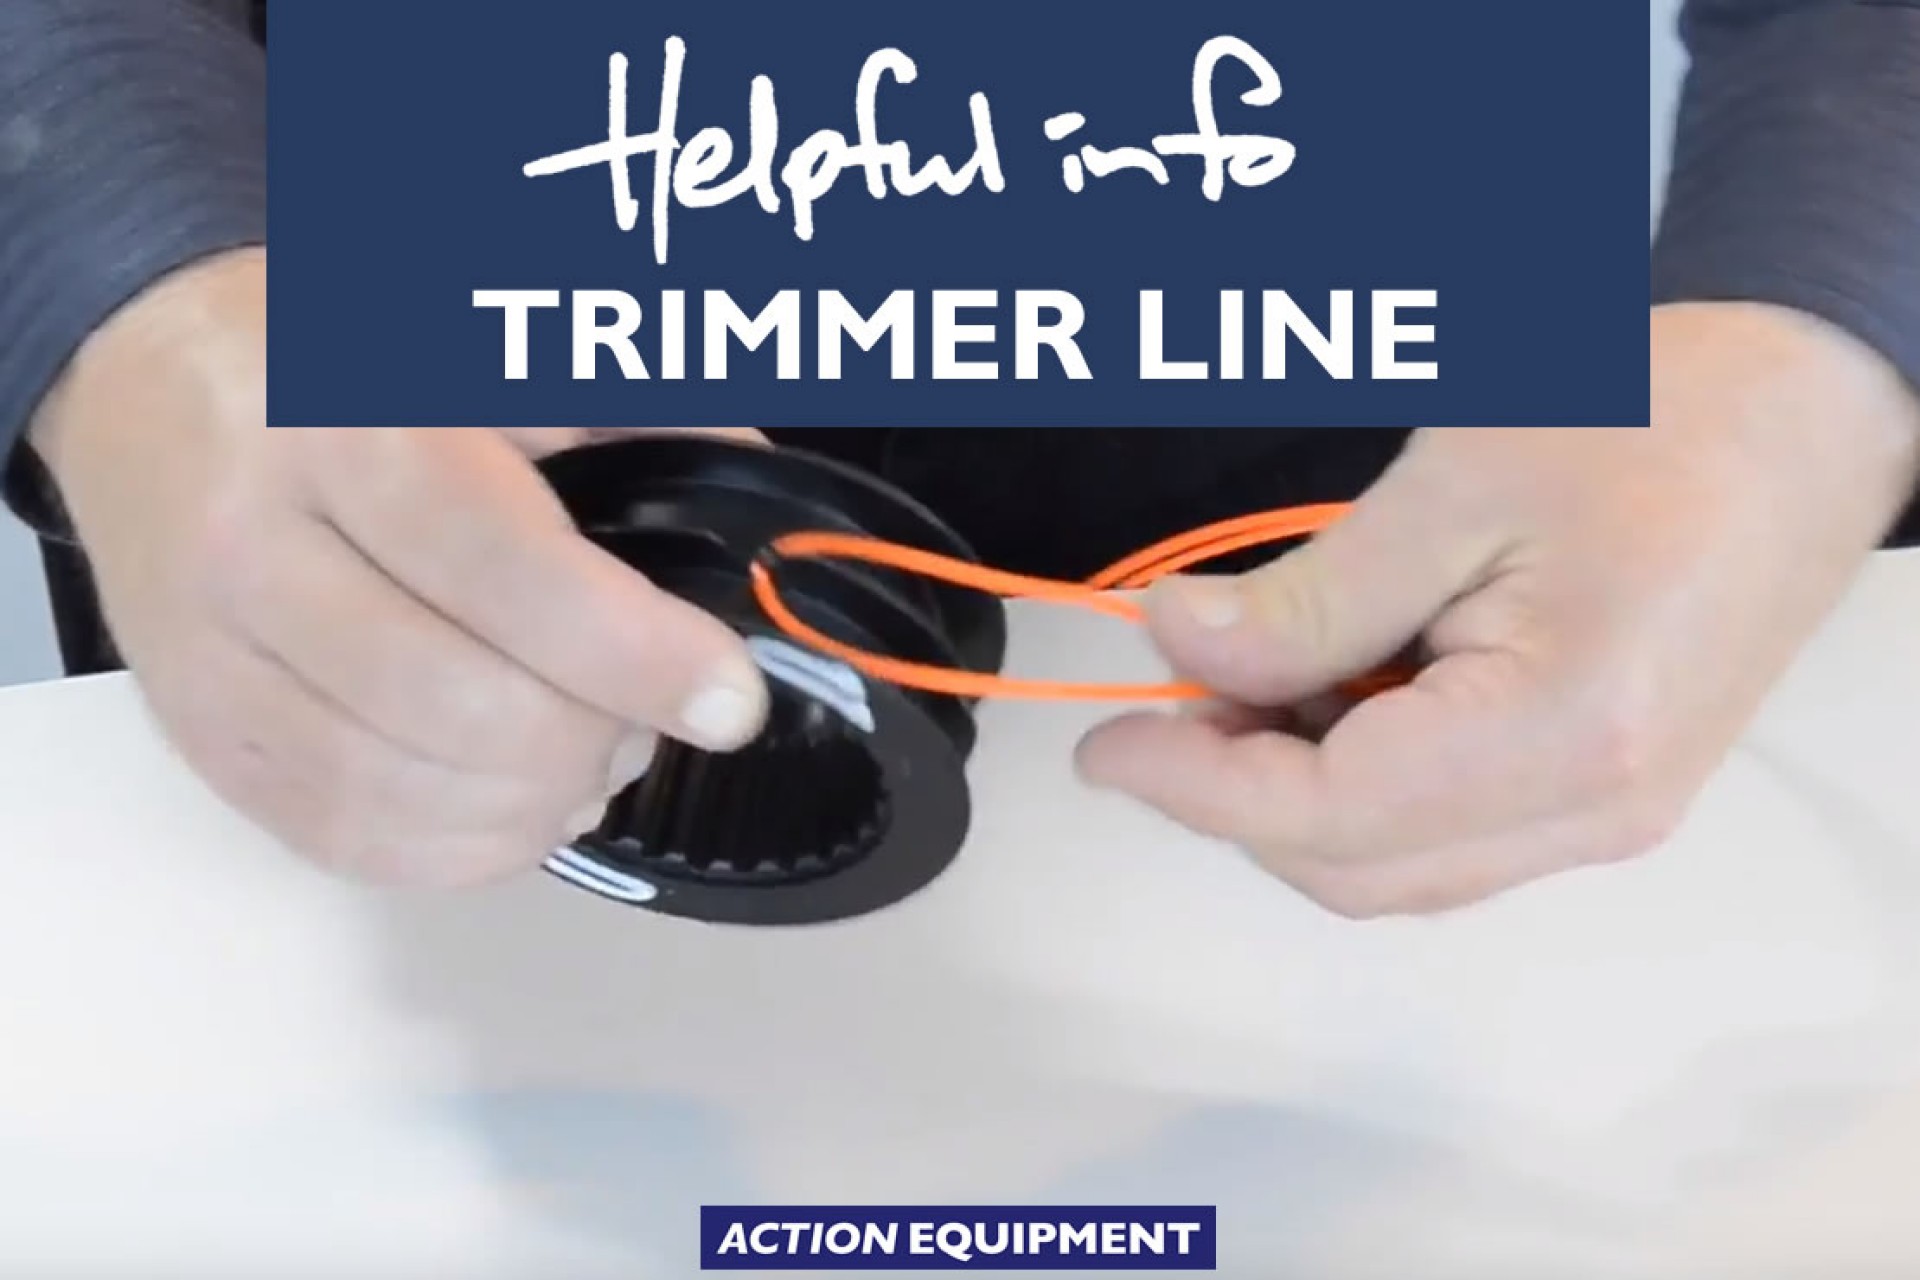
Gardening How to add trimmer line
A quick video on how to respool trimmer line on your Husqvarna linetrimmer. -
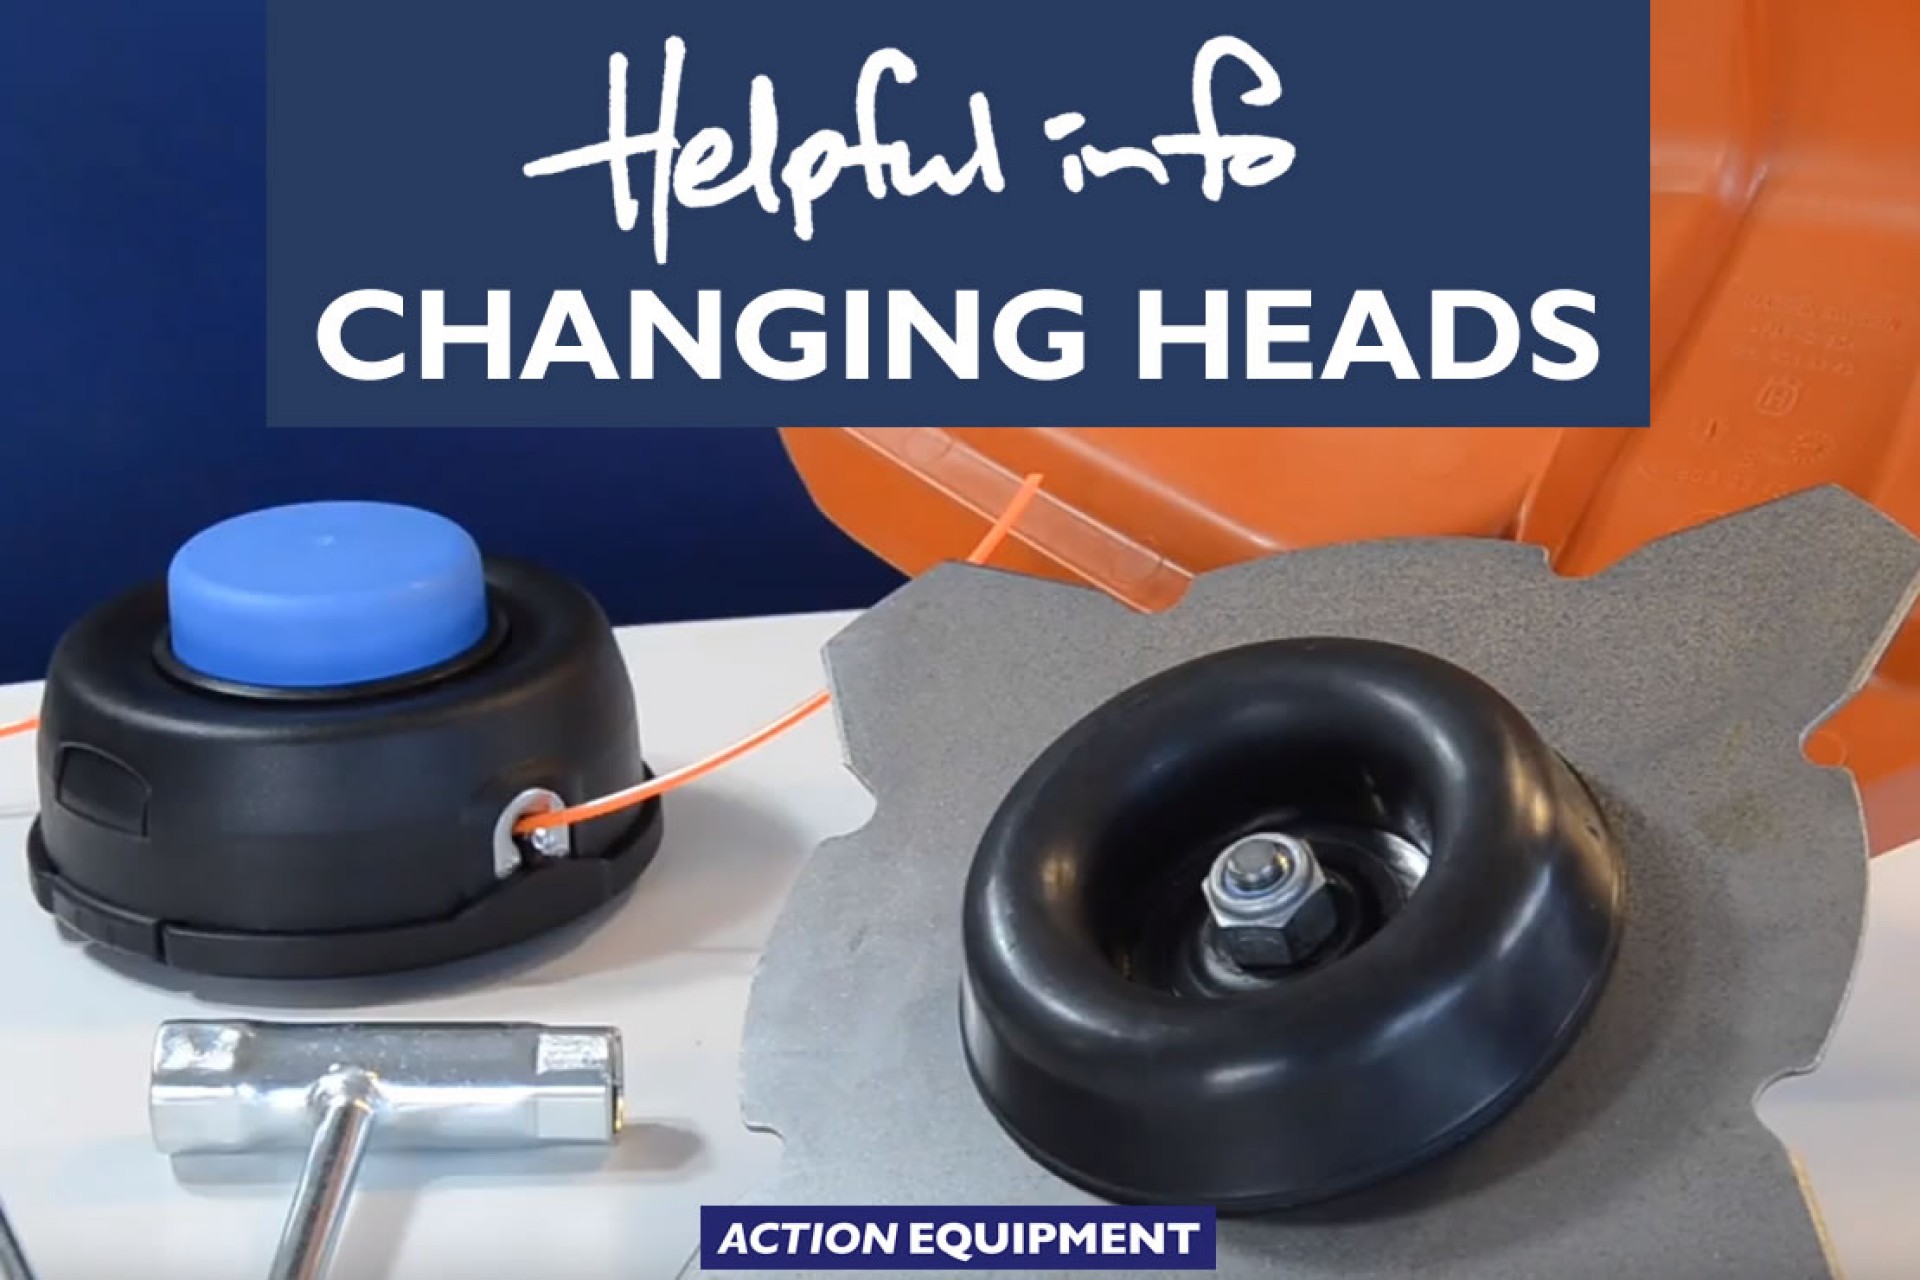
Gardening How to change between linetrimmer and grass blade
A quick video on how to change from a trimmer head to a grass blade and back.